How to Decorate a Blank Living Room Wall
Learning how to decorate a blank living room wall requires a balance of spatial planning and personal expression. You don’t need to be a professional designer to turn a cold, empty surface into a focal point that ties your home together.
By focusing on scale, proportion, and texture, you can create a display that feels intentional rather than cluttered. We’ll cover the proven techniques used by interior experts to ensure your wall looks finished and balanced as of 2026.
Quick Answer
Decorate a blank living room wall by balancing visual weight and scale. Hang art at eye level to establish a clear focal point. Use paper templates to test arrangements before installing any permanent hardware.
Combine textures or mirrors to add depth to your space. Ensure all items relate physically to the furniture below them.
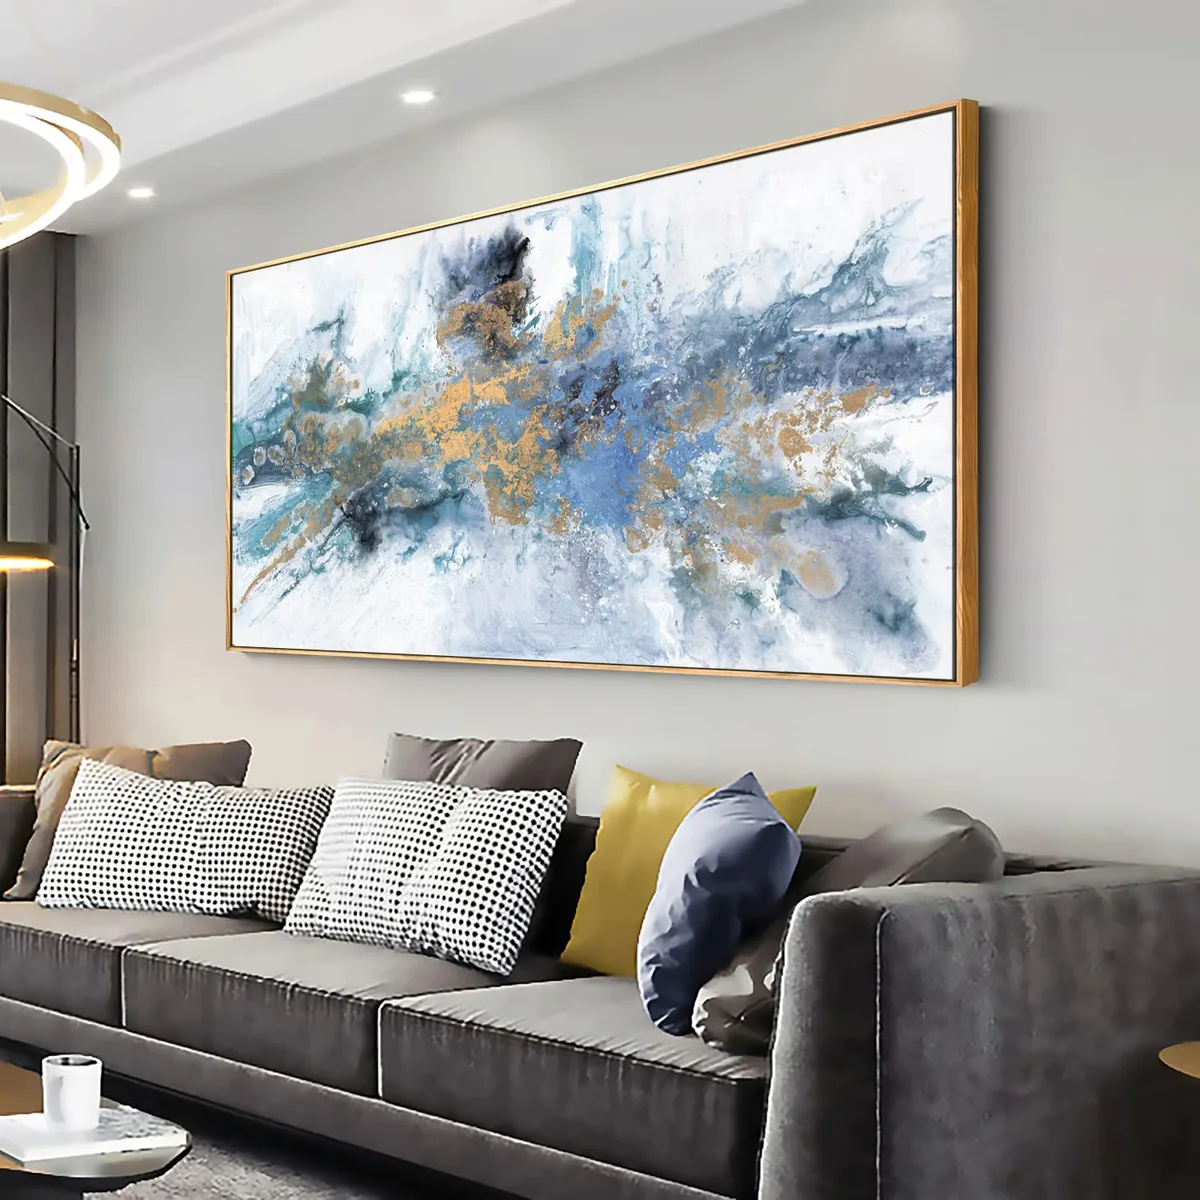
Image source: Web (Bing) / amazon.com (Web image (fair-use with source credit))
The Psychology of Negative Space and Visual Balance
Negative space is the empty area around your decorative elements. It allows the eyes to rest and prevents a room from feeling chaotic. When you treat the empty wall as an active design choice, you create a more sophisticated environment.
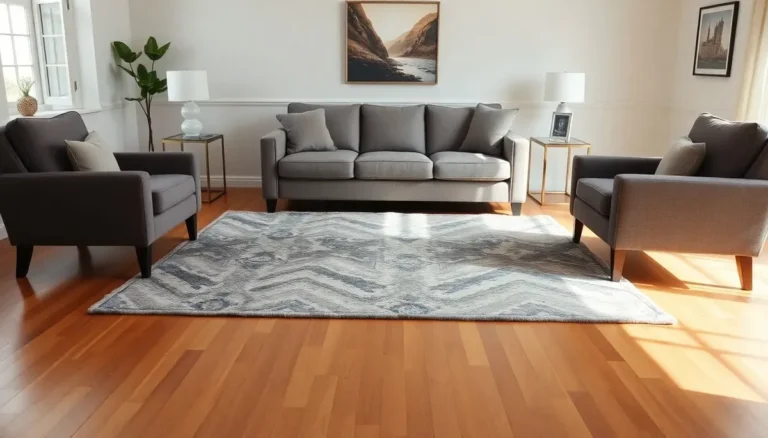
Visual balance refers to how the weight of your furniture interacts with the art on the wall. A heavy, dark sofa needs a substantial piece of art or a wide gallery arrangement to prevent it from feeling like it is floating. You can find more information on spatial design principles through Cornell University’s design resources.
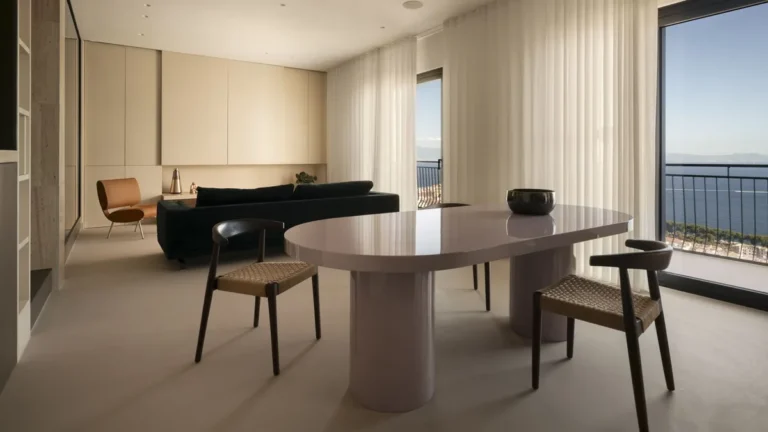
Don't feel pressured to cover the entire wall. Often, leaving larger areas of bare wall creates a sense of luxury and calm. If you have high ceilings, you can use verticality to draw the eye upward, but keep the core of the decor at a comfortable, human scale.
The 57-Inch Rule and Mastering Scale
The 57-inch rule is the industry standard for hanging art. It dictates that the center point of your artwork should sit exactly 57 to 60 inches from the floor. This aligns the display with the average human eye level, making it feel natural and grounded.
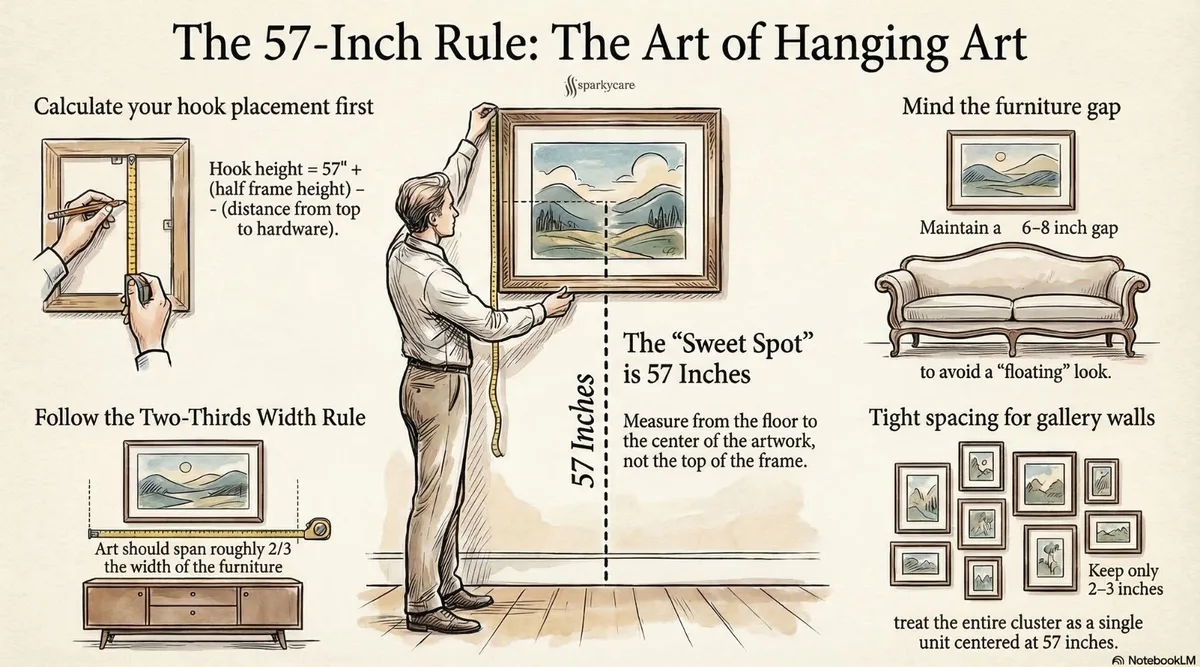
Image source: Bing (Web (fair-use with source credit))
Scaling your decor to your furniture is just as important as the height. Aim for your art or shelving to cover about two-thirds of the width of the piece below it. This ratio creates a cohesive unit that anchors the furniture to the wall.
| Element | Recommended Width | Positioning |
|---|---|---|
| Large Canvas | 60% – 75% of sofa width | 6–8 inches above backrest |
| Gallery Wall | 60% – 80% of sofa width | Tight 2–3 inch spacing |
| Mirrors | 50% – 70% of table width | Centered horizontally |
Choosing the Right Decorative Approach
Choosing the right decor depends on your room’s function and your personal style. A statement piece works best for a bold, minimalist look where you want one object to command attention. This approach simplifies your cleanup and keeps the room looking organized.
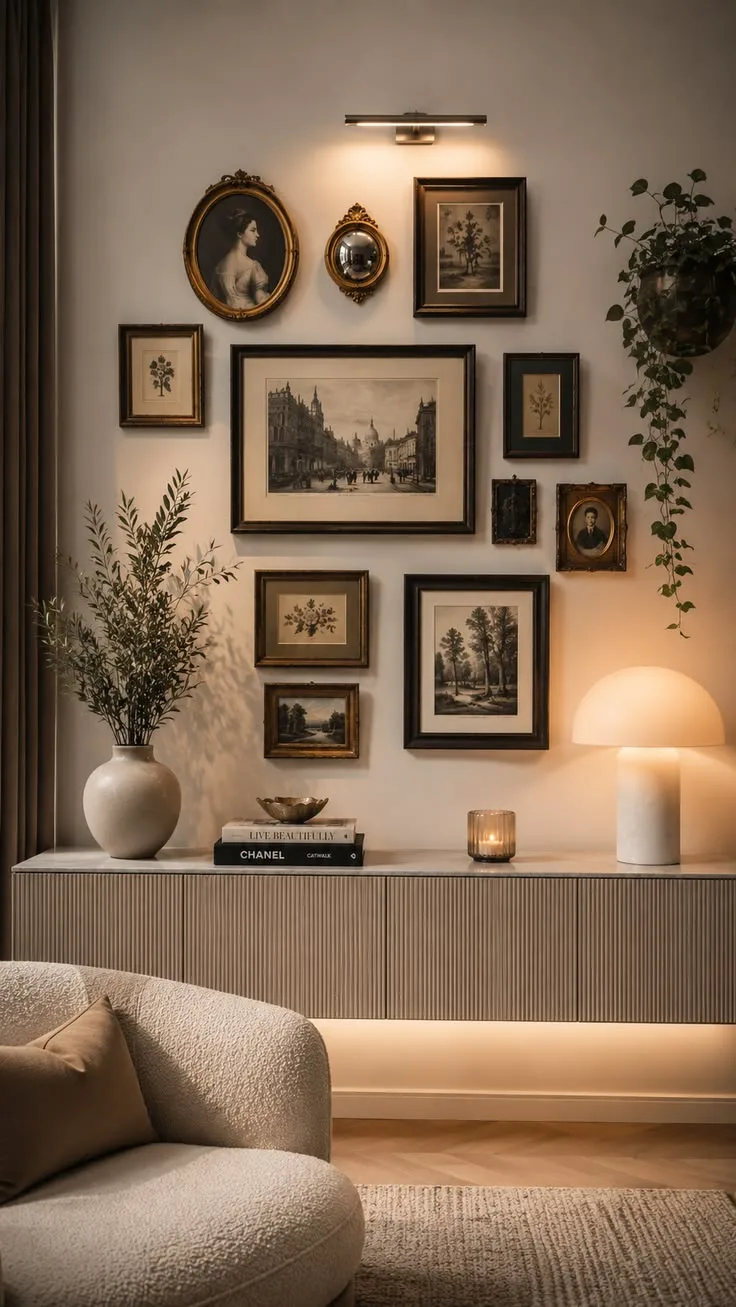
A gallery wall is better if you have a collection of memories or smaller prints you want to display together. To keep it from looking like a scattered mess, use uniform frame colors or matching matting. This trick ties disparate pieces together into one singular, intentional design.
Textural elements like woven hangings or macramé offer a softer alternative to rigid frames. These materials are excellent for adding warmth to a room with many hard surfaces, such as hardwood floors or glass tables. They also provide light acoustic dampening, which makes the living room feel quieter.
Step-by-Step Execution: From Template to Final Install
Always start by creating paper templates before you pick up a drill. Trace your frames onto craft paper or newspaper and cut them out. This prevents unnecessary holes in your drywall while you experiment with different positions.
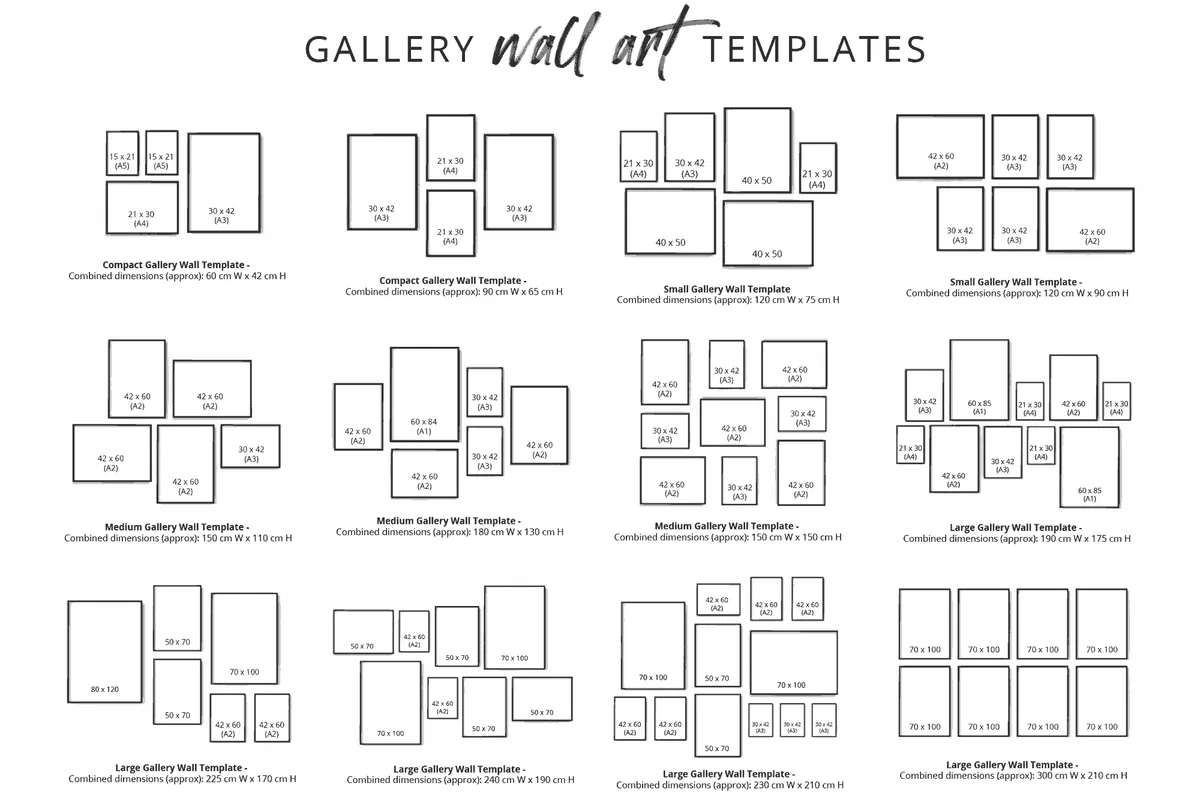
Image source: Web (Bing) / bumultimedia.com (Web image (fair-use with source credit))
Use painter's tape to attach these templates to the wall. Step back and look at the arrangement from the doorway. Check that the spacing is uniform and the height feels correct.
You can move the paper templates as many times as you like until the balance feels perfect.
Once you are satisfied, mark the exact spot for your hardware through the paper template. Remove the paper, install your anchors or nails, and hang your items. This workflow ensures that your actual installation matches your mental design perfectly.
Essential Hardware and Structural Safety
Choosing the correct hardware is the difference between a secure display and a wall repair project. Drywall requires different anchors than masonry or brick. Always verify the weight capacity of your hooks before hanging large mirrors or heavy frames.
If your decor is heavy, locate the wall studs using a stud finder to ensure a secure mounting point. The Occupational Safety and Health Administration provides guidance on safe tool use and mounting practices that can prevent accidents in residential spaces. For lighter frames, simple picture nails or self-drilling drywall anchors are usually sufficient.
Avoid using adhesive strips for heavy or expensive items, as these can fail over time or damage wallpaper upon removal. Always use a level during the install process to ensure your frames aren't crooked. A crooked frame is the fastest way to make even the most expensive art look poorly hung.
Avoiding Common Decorating Pitfalls
The most frequent mistake is hanging art too high. When a piece is mounted too far above a sofa, it loses its connection to the room and feels like it is floating. Always anchor your decor to the furniture below it to maintain visual cohesion.
Another error is cluttering a wall with too many tiny objects. This makes a space feel smaller and draws unnecessary attention to the lack of a singular focus. Try to group smaller items together using a consistent frame style to create the illusion of one large, cohesive piece.
Poor lighting can also diminish your efforts. If you have a dark corner or a wall that lacks natural light, consider adding a picture light or wall sconce. These additions clarify the details of your artwork and add a layer of warmth to your living room ambiance.
Finally, ignore the impulse to fill every blank wall in your house. Empty space is a powerful design tool that provides contrast. By leaving some areas bare, you allow the decorated sections to truly stand out and make a statement.
Frequently Asked Questions
What is the best way to arrange a gallery wall?
Start with your largest pieces near the center and work outward. Maintain a uniform gap of 2 to 3 inches between each frame. Use paper templates to test your layout before you start hammering nails.
This ensures you achieve a balanced look without unnecessary wall damage.
Should I choose a mirror or art for a small living room?
A large mirror is usually better for small spaces because it reflects light and creates depth. If you prefer art, select a single large piece instead of multiple small ones. A single large item keeps the wall feeling open, while small items often create a crowded appearance.
How do I hang heavy items safely?
Always use a stud finder to locate the structural supports behind your drywall. Secure your heavy frames or mirrors directly into these studs using screws or appropriate mounting hardware. Check manufacturer weight ratings for all hooks to prevent the piece from falling over time.
Can I decorate a wall without making holes?
Yes, you can use heavy-duty adhesive strips designed for picture hanging. These work well for lightweight frames and allow for easy removal without damaging your paint. For heavier objects, lean large framed pieces against the wall on a sturdy console table.
How do I handle walls with unique textures?
Textured walls like brick or shiplap require specialized hardware. Use masonry anchors for brick surfaces to ensure a firm grip. If you prefer not to drill, consider using a tension-rod system for lighter decor or installing a picture rail molding.