How to Decorate a Blank Wall
Knowing how to decorate a blank wall starts with understanding the space you have available and the atmosphere you want to create. Empty walls often feel unfinished, but the right combination of art, texture, and scale can pull a room together instantly.
Whether you prefer a single dramatic piece or a curated gallery wall, consistency remains the key to professional-looking results. As of 2026, interior design standards recommend keeping the center of your focal point at 57 inches from the floor. This measurement ensures your display aligns naturally with the eye level of most adults.
Quick Answer
Decorate a blank wall by balancing scale and visual weight. Use large art pieces to prevent a cluttered appearance. Hang items at eye level to improve visual flow.
Group smaller pieces to create a cohesive gallery wall. Avoid using tiny art on large, open wall surfaces.
Why Your Blank Wall Feels Off (The Science of Visual Balance)
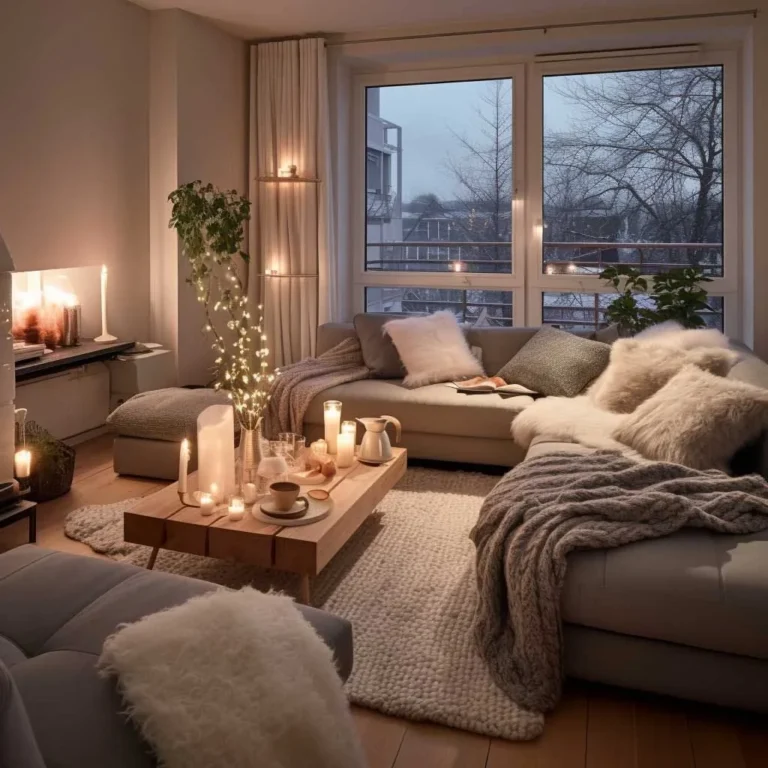
A blank wall often feels cold because it lacks visual depth or a defined focal point. When you walk into a room, your eye naturally searches for something to anchor the space. Without that anchor, the room can feel disconnected or overly sterile.
Visual balance isn't just about symmetry. It’s about how colors, shapes, and textures work together to distribute visual weight across a wall. If one side of the room feels heavy or dark, the opposite wall might need a balancing element to restore harmony.
Image source: Web (Bing) / walmart.com (Web image (fair-use with source credit))
The Golden Rules of Scale and Placement
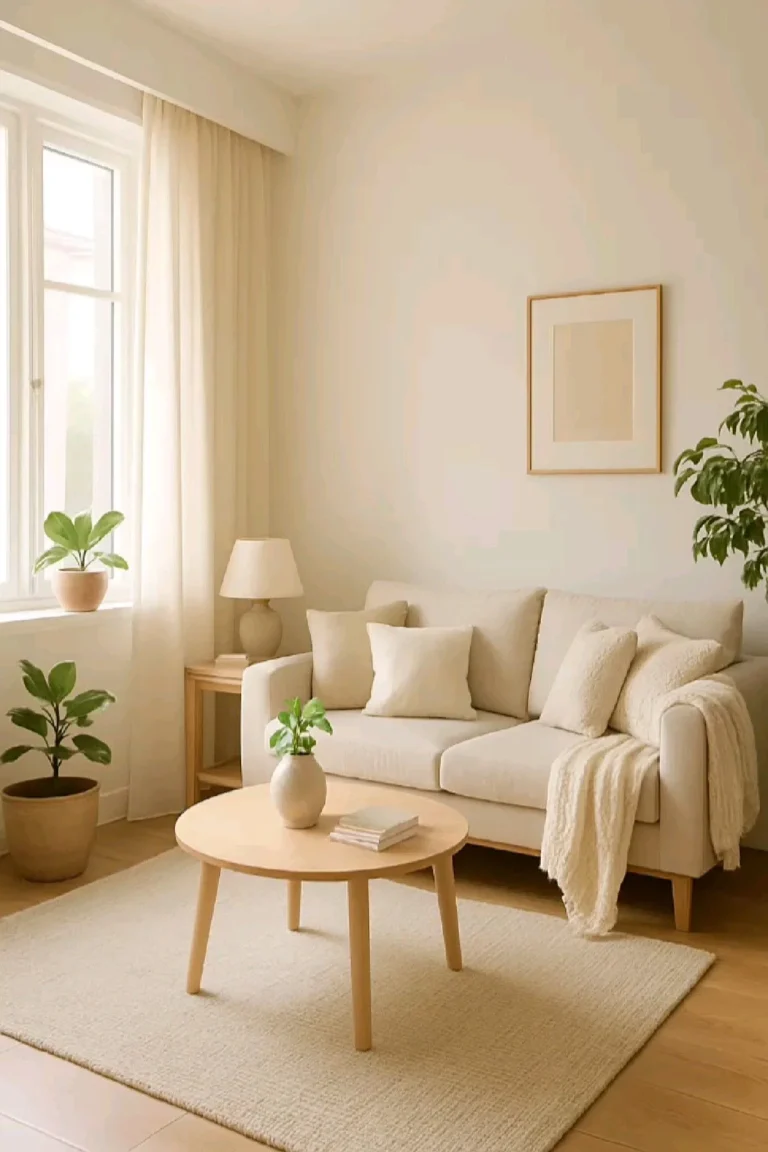
The most common mistake when decorating a wall is using items that are too small. A tiny frame floating in the center of a large, expansive wall makes the art look lost and unimportant. You should generally aim for pieces that cover at least two-thirds of the width of the furniture below them.
If you don't have furniture to anchor the art, follow the 57-inch rule. This standard, used by many museum curators and professional designers, ensures that the center of your artwork sits exactly at the average human eye level. This height creates a comfortable viewing experience across almost any living space.
Image source: Bing (Web (fair-use with source credit))
| Rule | Best Application | Why It Matters |
|---|---|---|
| 57-Inch Height | Standard eye-level art | Keeps focus consistent. |
| 2/3 Furniture Width | Art above sofas or tables | Maintains visual proportion. |
| Tight Spacing | Gallery wall clusters | Prevents visual fragmentation. |
Choosing the Right Decor Type for Your Room’s Function
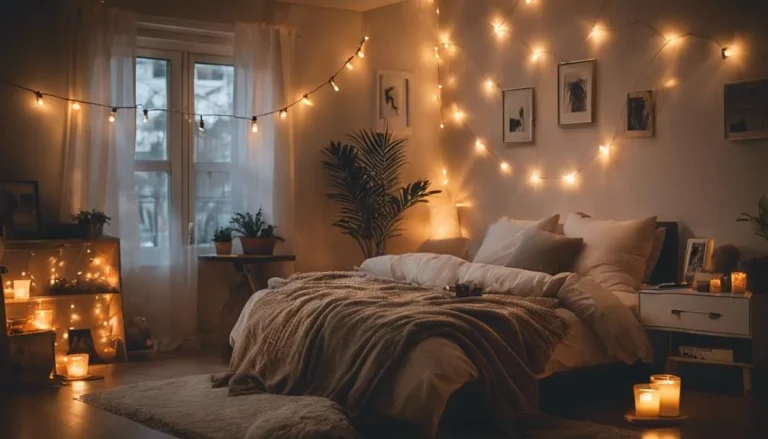
Your choice of wall decor should depend on the room's primary use. A home office needs inspiration, while a bedroom usually benefits from calming textures. Functional items like mirrors or shelving can solve two problems at once: they fill a blank wall and serve a daily purpose.
If you want to add warmth without adding clutter, consider textiles or woven wall hangings. These pieces dampen sound, which is particularly helpful in rooms with hard floors and high ceilings. For those concerned about safety or structural integrity, ANSI standards provide guidance on selecting the right wall anchors for heavy hanging objects.
- Mirrors: Use these in narrow hallways to create the illusion of extra space.
- Shelving: Opt for floating shelves in the kitchen to display items while keeping surfaces clear.
- Art Prints: Select photography or canvas prints for the living room to set the color palette.
- Textiles: Use these in bedrooms to add softness and reduce acoustic echo.
The Designer’s Process: From Floor Mock-ups to Final Installation
Never start drilling holes until you have mapped your design. Layout your frames on the floor first. This allows you to swap positions and adjust spacing without making a single mark on your walls.
Once you’re happy with the floor layout, use painter's tape to mark the outside corners of your frames on the wall. This gives you a literal blueprint to follow. You’ll see exactly how the grouping occupies the space before you commit to the hardware.
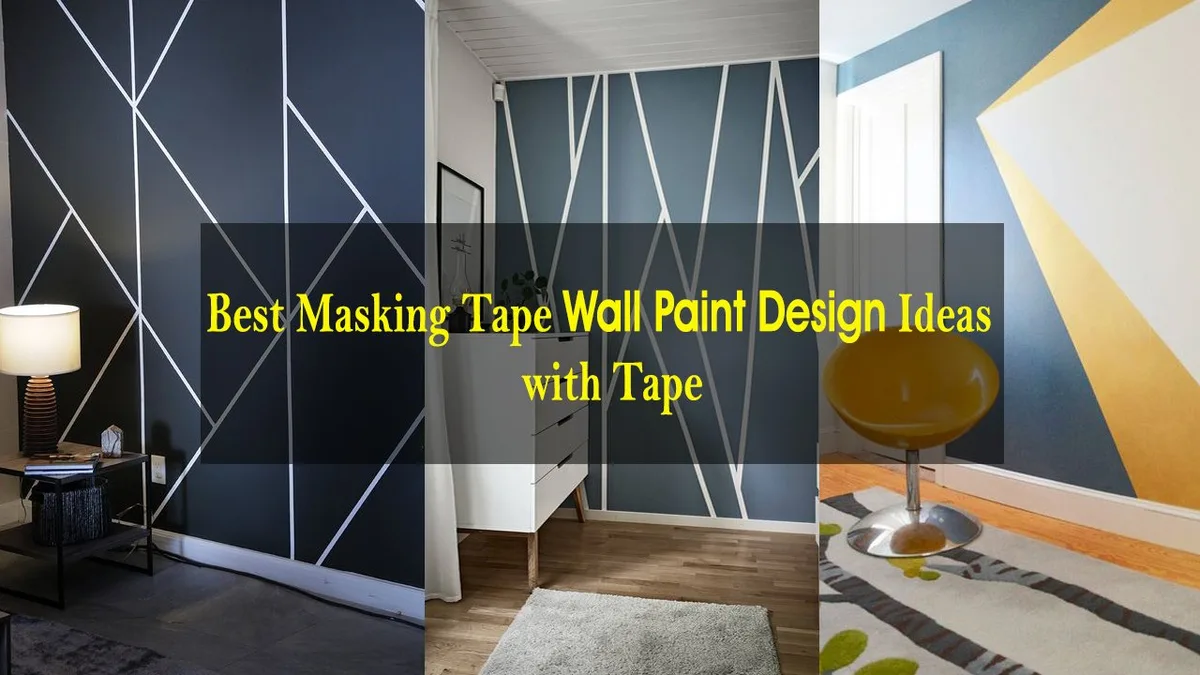
Image source: Bing (Web (fair-use with source credit))
When building a gallery wall, start with your largest piece. Place it near the center of the arrangement to act as your anchor. Build the smaller frames outward from that point, maintaining a consistent 2 to 3-inch gap between each frame for a polished look.
Common Visual Mistakes That Ruin a Wall
Clutter is the enemy of good design. If you have too many small, unrelated items, the wall will feel chaotic rather than curated. Try to group pieces that share a color palette or a specific frame material to help them look like they belong together.
Avoid "stair-stepping" art frames too aggressively on angled walls unless the architecture demands it. It often leads to a dated look that feels forced. If you find your wall looks messy, remove one piece at a time until the negative space, which is the empty area around your art, feels intentional again.
Essential Safety Checks for Hanging and Mounting
Safety begins behind the surface of your wall. Before you drive a nail or drill a hole, you must identify where your studs are located. Use a high-quality stud finder to confirm the structural supports behind the drywall.
If you skip this step, you risk damage to your wall or the potential for heavy objects to fall.
Electrical wiring often runs horizontally and vertically through wall studs, especially near switches and outlets. If you are drilling deeper than 1 inch, exercise extreme caution. According to NFPA safety guidelines, avoid drilling near electrical boxes to prevent accidental wire strikes.
When in doubt, use adhesive-backed mounting systems for lightweight items.
Always match your hardware to the weight of your decor. A simple picture hook works well for light frames, but heavy mirrors or large canvases require wall anchors or screws driven directly into a stud. If you notice a wall anchor pulling away or feeling loose, remove it immediately.
Patch the hole with spackle and move your installation point to a more stable area.
Frequently Asked Questions About Wall Decorating
How do I know if my art is too small for the wall?
Compare the width of your art to the width of the furniture below it. If your artwork is less than half the width of your sofa or console table, it will look undersized. You can solve this by grouping smaller items together to create a larger visual footprint.
Should I use nails or adhesive strips?
Use nails or screws for heavy items and long-term installations. Adhesive strips work best for lightweight prints and temporary displays where you want to avoid surface damage. Always check the weight limits listed on the packaging of your mounting hardware to prevent accidents.
What is the best way to clean my wall art?
Dust your frames and canvases regularly with a dry microfiber cloth to keep colors vibrant. Avoid liquid cleaners on canvas or paper prints, as moisture can cause permanent warping or mold growth. If you use glass, apply cleaner to a cloth first rather than spraying it directly onto the surface.
Can I mix different frame styles on one wall?
Yes, mixing frame styles creates an eclectic and personal aesthetic. Just maintain a common thread among the pieces, such as a similar matting color or a consistent theme in the imagery. This unity allows different frame materials to coexist without looking like a random collection of parts.
How often should I rearrange my wall decor?
There is no set schedule for changing your decor. Refresh your space whenever you feel the mood of the room needs a shift or when you find a new piece that brings you joy. Keep your mounting points clean and patched if you decide to change locations frequently.