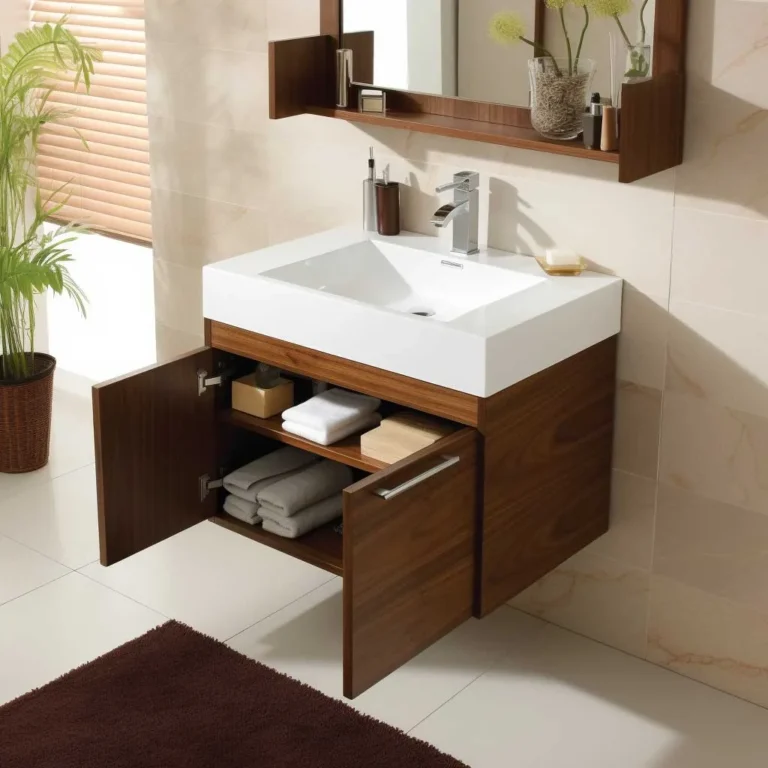
How to Decorate Bathroom Walls
If you’ve been looking for creative ways to improve your home, you’ve likely wondered how to decorate bathroom walls without causing long-term damage. While it is a smaller space, the constant moisture makes it a unique challenge compared to any other room in the house.
Choosing the right materials is the most critical step to ensure your updates last for years. As of 2026, many homeowners prefer moisture-rated options that balance style with high-performance protection.
Quick Answer
You can decorate bathroom walls using moisture-resistant materials like vinyl wallpaper. Always use semi-gloss or satin paint for easy cleaning. Ensure the bathroom has a working exhaust fan.
Avoid porous items like raw wood or canvas art. These choices prevent mold growth and water damage.
The Humidity Challenge: Why Bathroom Walls Are Different
Bathrooms are fundamentally wet zones, and your walls act as a sponge for steam. When you add decorations, you change how moisture settles on the surface. If you use the wrong materials, you will trap water between the wall and your decor.
This creates the perfect environment for mold and mildew. These fungi can damage drywall and pose health risks over time. Per guidance from the Environmental Protection Agency, moisture control is the primary way to prevent indoor mold growth.
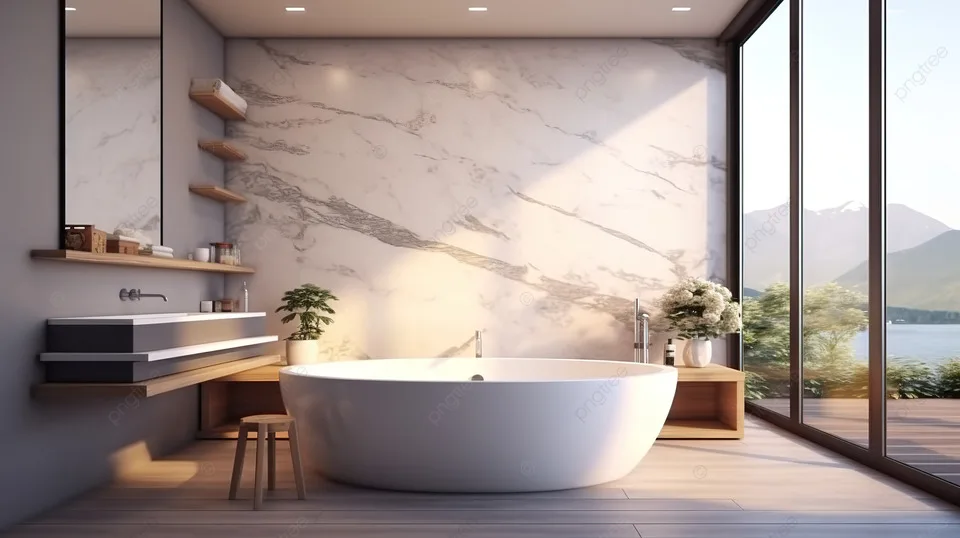
Image source: Bing (Web (fair-use with source credit))
Every decorative choice you make must respect the physical reality of steam. Think of your bathroom walls as a specialized landscape where water is the main variable. You aren't just styling a room, you are managing a microclimate.
Assessing Your Space: The Ventilation and Moisture Audit
Before you hang a single frame, you must test your room's airflow. A bathroom with poor ventilation will struggle to dry even the most durable wall treatments. Start by turning on your exhaust fan while the shower is running.
If the mirror remains foggy for more than 15 minutes after you finish, your ventilation is likely insufficient. This makes your wall decor choices much more restricted. You may need to upgrade the fan or choose highly moisture-proof materials.
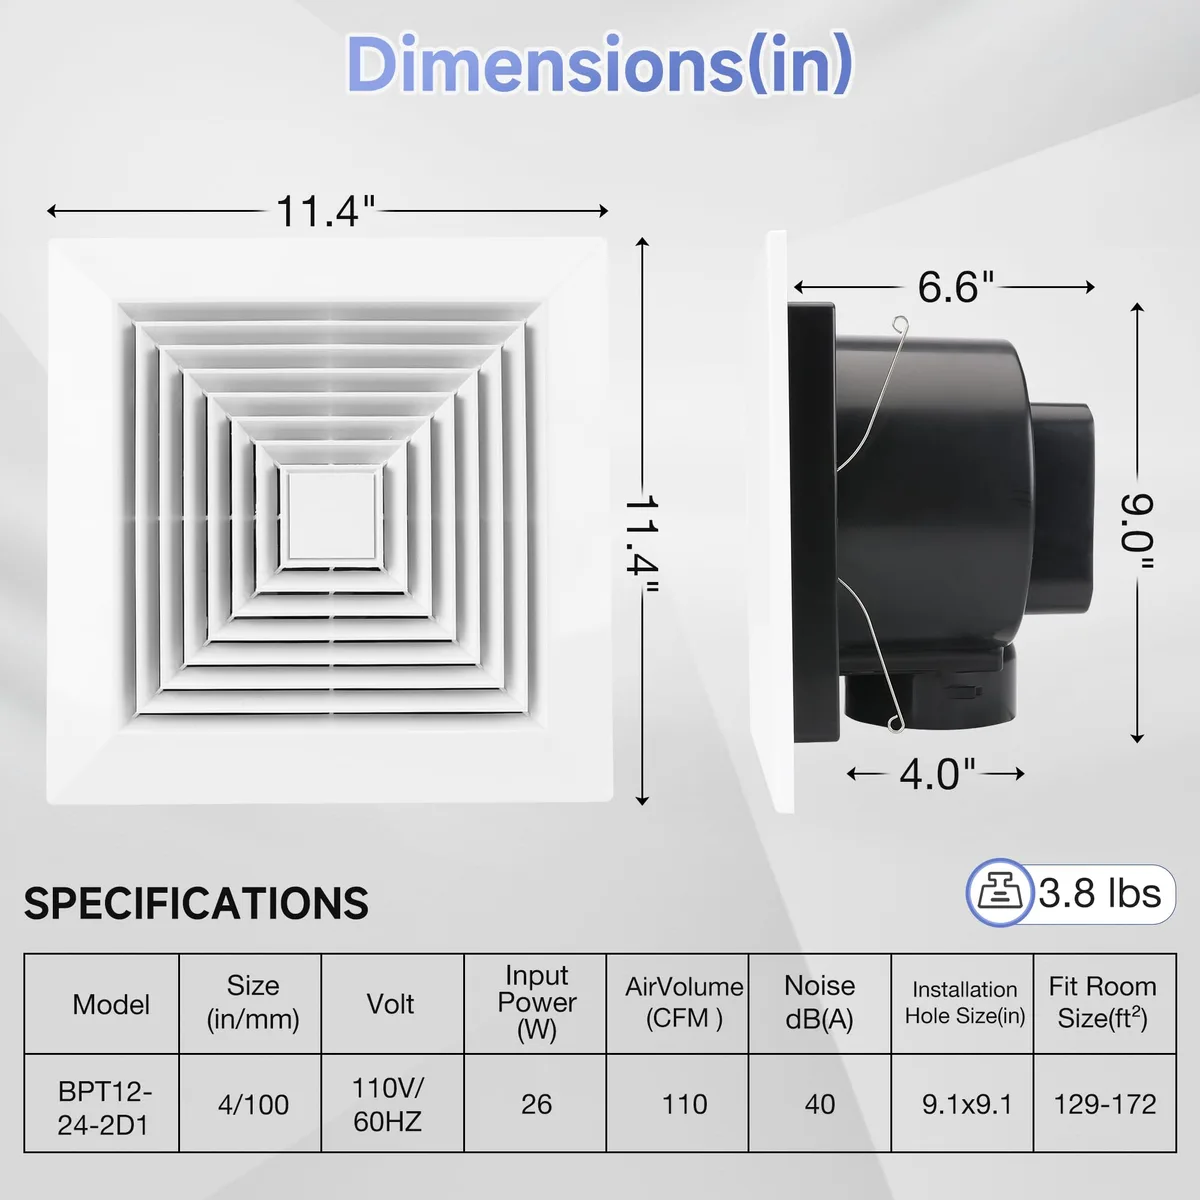
Image source: Web (Bing) / fity.club (Web image (fair-use with source credit))
You can also perform a quick moisture audit by checking the current state of your drywall. If you see peeling paint or dark spots, address these issues first. Decorating over existing mold will only hide the problem until it gets worse.
Choosing Your Materials: Performance vs. Aesthetics
Selecting the right finish is a game of balancing looks with durability. Not all materials are built for the intense cycles of heating and cooling found in a bathroom. You need products that resist warping and peeling.
| Material Type | Moisture Resistance | Best Application |
|---|---|---|
| Vinyl Wallpaper | High | Statement wall |
| Semi-Gloss Paint | Excellent | General wall surface |
| Metal/Acrylic Art | Highest | Near shower zone |
| Glass-Front Frames | Moderate | Dry vanity area |
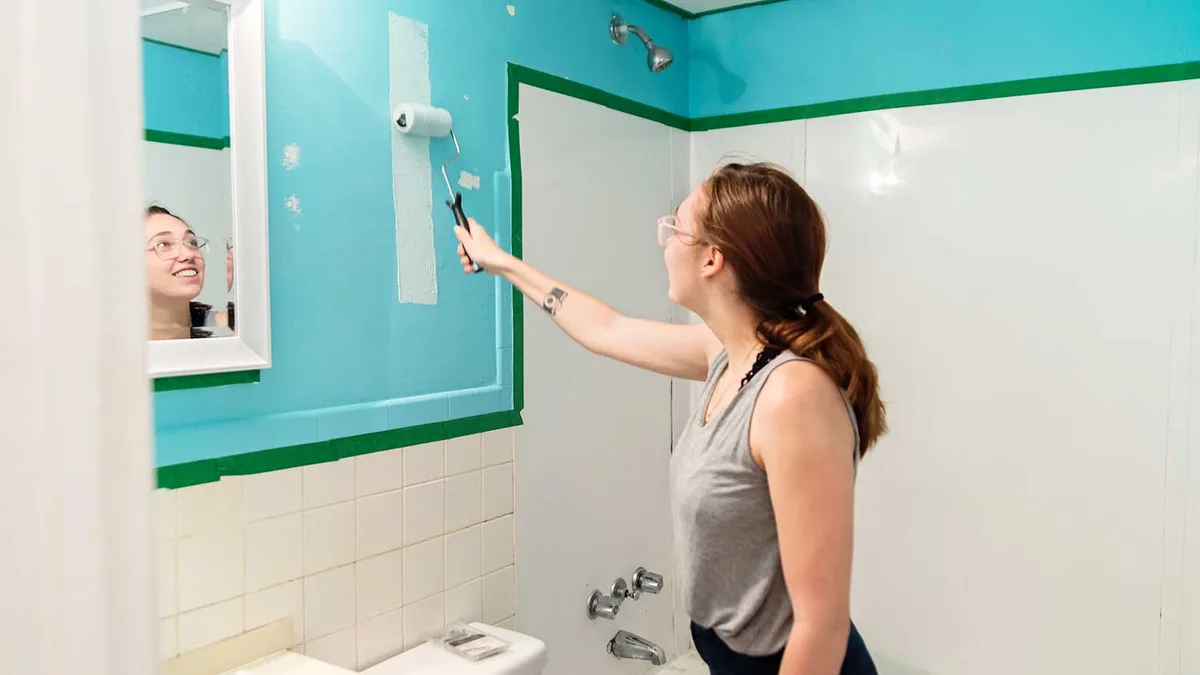
Image source: Web (Bing) / ar.inspiredpencil.com (Web image (fair-use with source credit))
Always check the product specifications for "steam-rated" labels. Standard interior paint or porous paper will eventually fail under high humidity. Investing in high-performance materials upfront saves you the cost and frustration of a total redo later.
Visual Strategies for Impactful Wall Design
Because bathrooms are often compact, you don't need much to make a big impact. A single, well-placed piece of art can define the entire mood of the room. Think about sightlines from the doorway to draw the eye in.
Consider the gallery approach if you have a larger blank wall. Grouping three or four small, uniform frames creates a clean look that feels intentional. If you use a single large mirror, it adds both a focal point and vital light.
Focus on creating depth to make the room feel larger. Darker, moody colors can work in bathrooms, but they require good lighting to prevent the space from feeling cramped. Match your hardware to your decor to pull the look together.
Step-by-Step: Preparing and Installing Safely
Proper installation is the difference between a project that lasts and one that fails in a month. Begin by cleaning the wall surface with a mild degreaser to remove soap residue or hairspray buildup. Paint or adhesive will not bond to a film of chemical residue.
Once the surface is clean, allow it to dry for at least 24 hours. Sand any rough spots lightly to create a smooth surface for your chosen treatment. If you are applying wallpaper, use a moisture-resistant adhesive specifically labeled for high-humidity environments.
When installing wall art or shelving, choose hardware made from stainless steel or brass. These materials resist rust, which prevents unsightly streaks from appearing on your paint. Use masonry bits if you are drilling into tile to avoid cracking the surrounding surface.
Finally, consider the placement relative to your splash zones. Any item within 18 inches of a showerhead or tub faucet requires a waterproof coating or a frame that seals the artwork inside. This prevents water from wicking behind the material and causing hidden damage.
Preventing Mold and Long-Term Maintenance
Maintenance is about keeping the surface dry and clean. Make it a habit to wipe down your wall treatments after particularly steamy showers. A quick pass with a dry microfiber cloth prevents moisture from lingering on your decor.
Check your wall seams or paint edges every six months for signs of bubbling. Bubbling is an early warning sign that moisture is penetrating your seal. If you catch it early, you can often repair the area with a small amount of waterproof sealant.
Don't ignore the importance of professional standards in your maintenance routine. Following the guidelines set by the American National Standards Institute for interior finishes can help you select products that are tested for durability. Keep your bathroom ventilation fan clean of dust buildup to ensure it functions at peak capacity.
Mistakes to Avoid When Updating Wall Surfaces
The most common error is ignoring the hidden moisture trap behind wall decor. If you mount heavy items like shelving directly through a moisture-resistant seal, you create a direct pathway for water to enter the drywall. Always use silicone sealant around any screws or anchors you drive into a tiled or painted bathroom wall.
Avoid using standard, non-treated materials because they lack the necessary biocides to fight mold. Using raw wood or paper prints in a room with limited airflow is a guarantee for long-term failure. Even if it looks fine for a few weeks, the fibers will eventually swell and warp from ambient humidity.
Another major mistake involves ignoring the surface texture during prep. You might think a rough wall provides better adhesion for heavy wallpaper, but it actually creates air pockets where condensation collects. Smooth, flat, and clean surfaces are the only reliable base for any long-term decorative work.
Finally, resist the urge to over-accessorize wall space near the shower. Every object you add acts as a shelf for water droplets. If you must add decor near the splash zone, limit it to one or two pieces made of glass, acrylic, or powder-coated metal that you can wipe down easily.
When to Seek Professional Help or Advice
Sometimes the wall project involves more than just aesthetics, and you need an expert to step in. If you find dark, fuzzy spots behind old wallpaper or paint, stop immediately and look for a mold remediation specialist. These spots often indicate a deeper problem with moisture migration that standard cleaning won't fix.
You should also consult a professional if your wall project requires moving electrical outlets or light fixtures. Bathrooms are strict environments regulated by the National Electrical Code for safety. A licensed electrician ensures that your new sconces or vanity lights have the correct moisture-rated enclosures.
If you are dealing with older homes, consult with a professional regarding the potential for lead-based paint or asbestos in original wall textures. Disturbing these materials through sanding or drilling can create a serious safety hazard. It is better to have an expert perform a quick test before you start any renovation.
If you are unsure about the structural integrity of a wall, contact a general contractor. They can verify if your walls are load-bearing before you start cutting into them for recessed shelving or niches. Professional guidance ensures your project remains both safe and compliant with local building codes.
Frequently Asked Questions
Is peel-and-stick wallpaper safe for bathrooms?
Standard peel-and-stick paper often fails in bathrooms due to adhesive breakdown. Only use products explicitly labeled for bathrooms or high-humidity areas. These versions feature specialized backings that resist moisture and prevent the edges from curling or peeling over time.
How do I protect frames from bathroom steam?
Use glass or acrylic covers to shield the artwork inside. You should also ensure the back of the frame is sealed with an archival tape or a vapor barrier. This prevents moisture from entering the frame and causing the paper print to wrinkle or mold.
Can I hang canvas prints in a bathroom?
Canvas is highly porous and will absorb moisture, which leads to mildew. If you must hang canvas, spray it with a high-quality acrylic varnish to seal the fabric. It is generally safer to choose metal or acrylic prints for high-steam zones.
What is the best paint finish for bathroom walls?
Satin or semi-gloss paints are the top choices for bathrooms. These finishes are less porous than flat paint and resist water droplets. They are also much easier to wipe clean when condensation, dust, or soap spots accumulate on the surface.
How do I prevent rust on bathroom wall hardware?
Choose materials rated for exterior or marine use, such as stainless steel, brass, or high-quality powder-coated metal. Avoid basic iron or cheap, thin-plated metals. If you already have hardware that shows rust, remove it immediately to prevent it from staining the wall surface.