How to Decorate a Bathroom
Learning how to decorate a bathroom effectively starts with recognizing that style must serve the room's high-moisture environment. By balancing aesthetic choices with materials that resist steam and condensation, you can transform a sterile space into a functional retreat.
When tackling these updates, keep in mind that moisture control is a technical necessity as of 2026. Standard bathroom ventilation, per ASHRAE design guidelines, plays a critical role in preserving your decor choices by preventing excessive humidity buildup.
Quick Answer
Decorating a bathroom requires balancing moisture resistance with personal style. Prioritize non-porous materials for all surfaces. Use a consistent color palette to avoid visual clutter.
Install adequate task lighting near mirrors. Check for proper ventilation before adding fabric decor. Keep surfaces clean for long-term durability.
The Wet Zone Reality: Why Visual Design Must Meet Function
Every bathroom is a wet zone by definition. This means your design choices must withstand constant temperature swings and high humidity levels. If you introduce materials that soak up moisture, like untreated wood or heavy absorbent textiles, you risk mold growth and material degradation.
Focus on non-porous surfaces that you can easily wipe clean. Ceramic tile, glass, metal, and moisture-resistant paints are your best tools here. When you select decorative accents, imagine them exposed to a hot, steamy shower for twenty minutes.
If the item would warp, rust, or stay damp, reconsider its placement.
Proper ventilation is the foundation of any bathroom project. Before buying expensive wallpaper or art, ensure your exhaust fan is actually pulling air out. Per EPA guidelines, managing indoor moisture is the most effective way to prevent mold, which would quickly ruin any decorative investment you make.
The 60-30-10 Design Framework for Small Spaces
Small bathrooms often feel cramped when you over-accessorize. The 60-30-10 rule helps you maintain a sense of order by assigning a specific percentage of space to your colors. This creates a professional, cohesive look even in the smallest rooms.
- 60% is your dominant color, usually the wall and large tile areas.
- 30% is your secondary color, typically seen in the vanity, towels, or floor mats.
- 10% is your accent color, reserved for small hardware, soap dispensers, or a single piece of art.
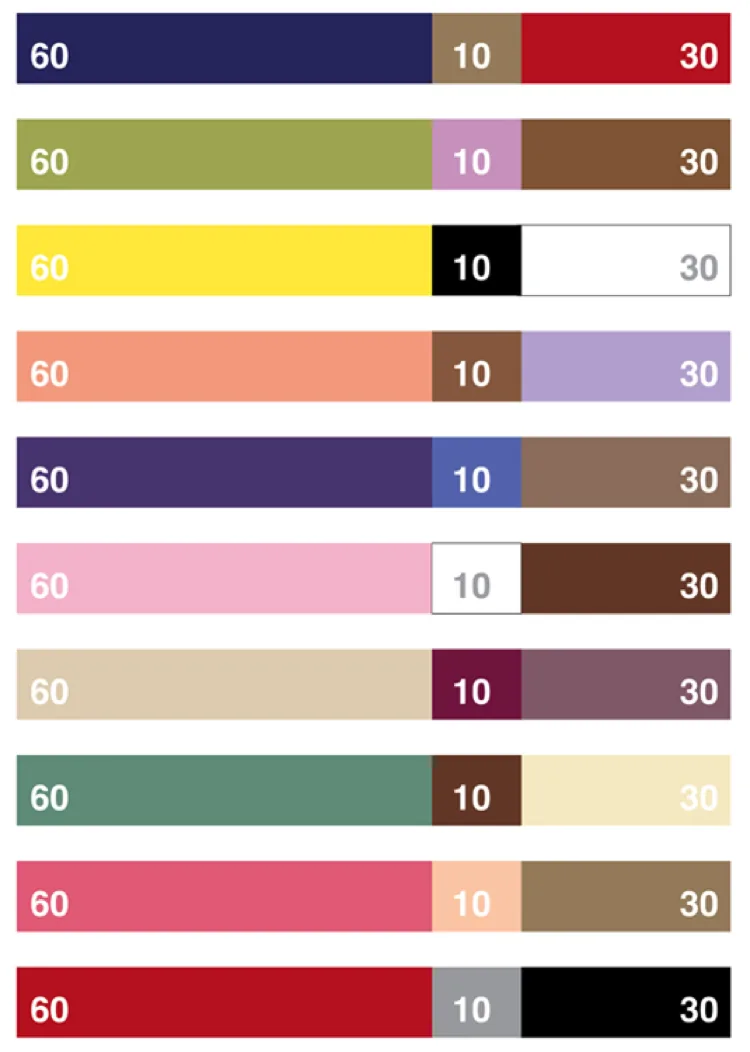
Using this ratio prevents the clutter that makes small bathrooms feel chaotic. If your tile is white, use white as your 60%. Then, choose a wood tone for your vanity at 30%.
Finally, bring in a pop of color like matte black or brushed gold for your 10% accents.
Lighting Layers: Transforming the Builder-Grade Vibe
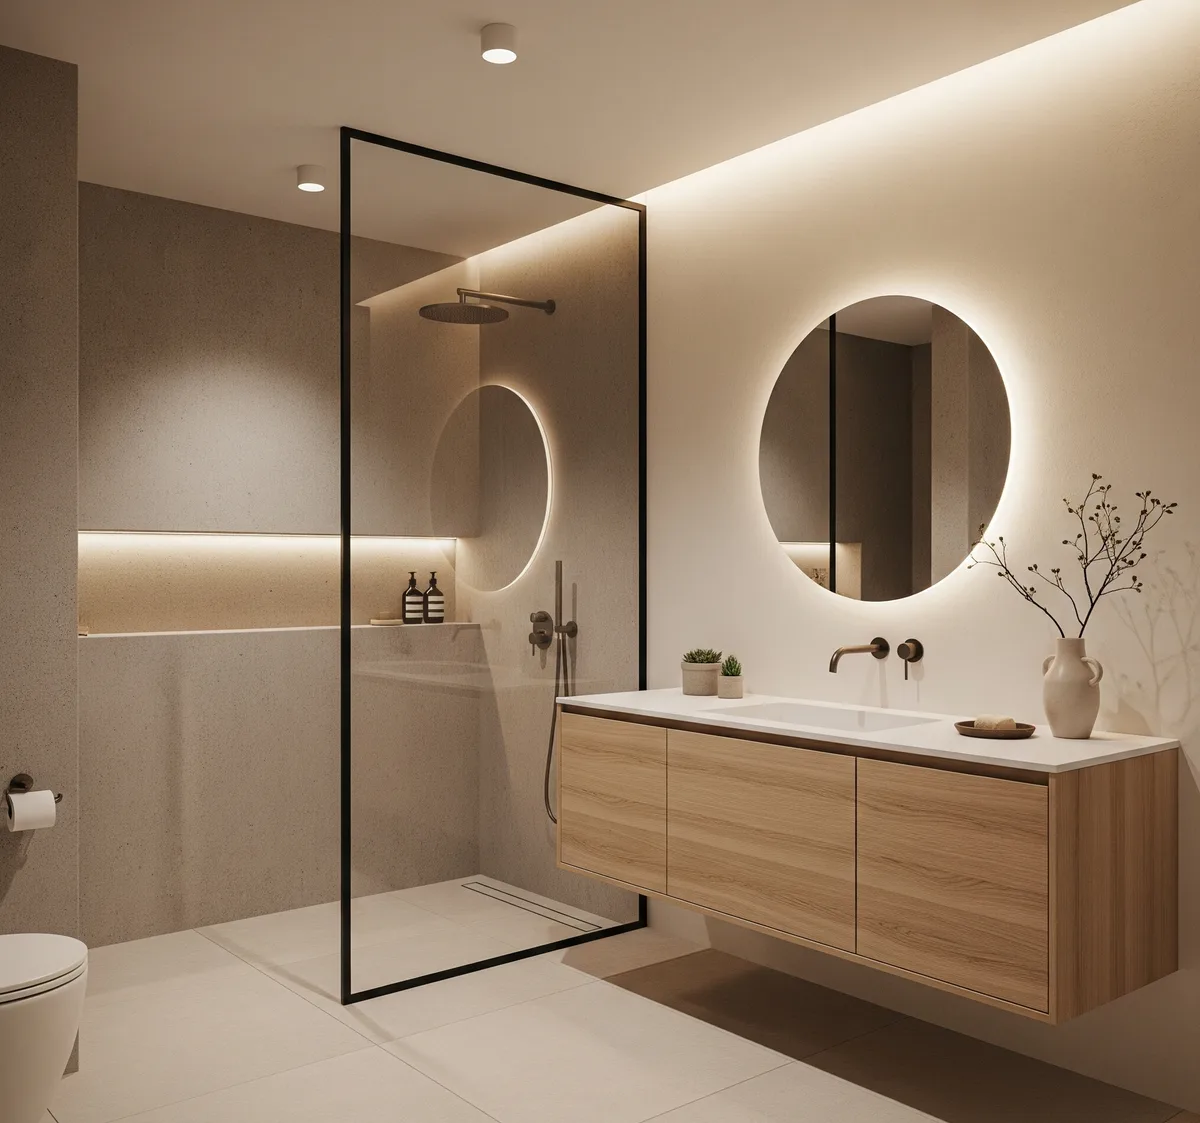
Most bathrooms suffer from one of two lighting errors. They either use a single overhead light that creates harsh shadows on your face, or they use fluorescent bulbs that make the room look cold. Start by swapping those bulbs for a warmer range between 2700K and 3000K.
Layering your light changes the room's mood from utility to luxury. You should aim for a combination of task lighting and ambient lighting. If you can add sconces at eye level on either side of the mirror, do it.
This eliminates the unflattering shadows caused by light shining directly down on your forehead.
If you cannot change the wiring for new fixtures, look for battery-operated wall lights that mount with simple adhesive strips. These provide the same visual impact without requiring an electrician. A dimmer switch also helps here, allowing you to soften the room during an evening bath.
Hardware and Surfaces: Selecting Materials That Withstand Steam
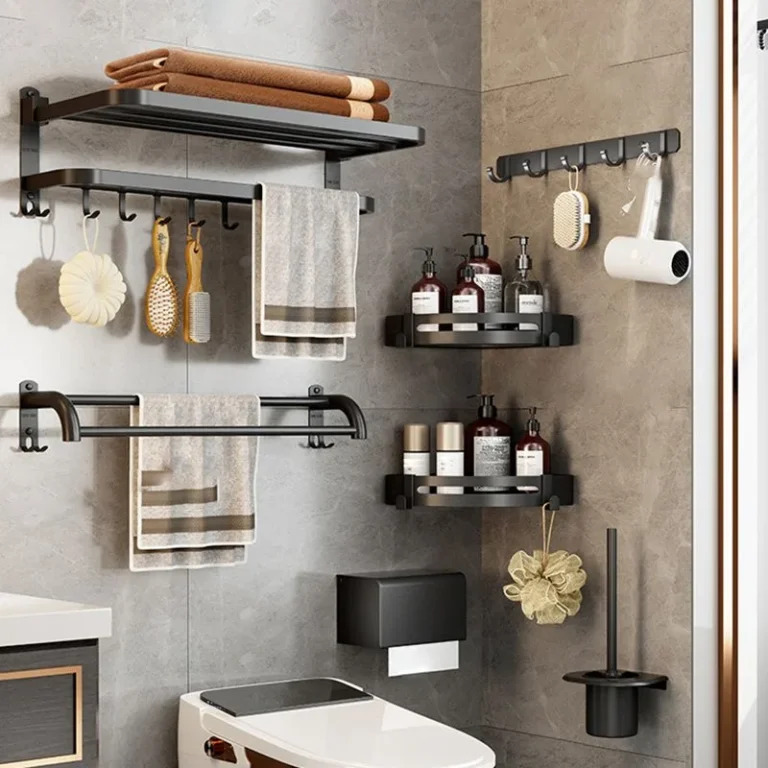
Your hardware is the jewelry of the bathroom. Because this is a high-traffic room, you want materials that hold up to frequent touch and dampness. Brushed finishes tend to hide water spots better than polished chrome or matte black finishes.
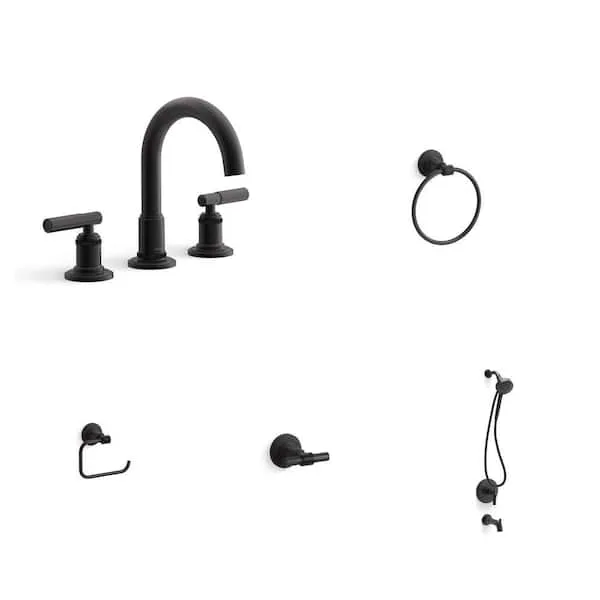
When choosing hardware, check the manufacturer's finish warranty. Look for PVD, or physical vapor deposition coatings, as these are highly resistant to corrosion in humid environments. Avoid cheap, plastic-based metals that will peel after a few months of steam exposure.
| Material Type | Pros | Best For |
|---|---|---|
| Solid Brass | Durable, resists rust | Faucets, pulls |
| Ceramic | Easy to clean | Soap dishes, trays |
| Tempered Glass | Won't warp or rust | Shelving, decor |
| Stainless Steel | High humidity resistance | Towel bars, hooks |
High-Impact Visual Upgrades You Can Do This Weekend
You can refresh a bathroom in just a few hours by focusing on the vanity and the mirror. If you have an old, frameless mirror, applying a DIY frame creates an immediate, custom look. You can use pre-cut wood strips, mitered to fit the edges, then seal them with a water-resistant polyurethane.
Swapping out your cabinet hardware is another high-impact, low-cost move. Use the existing holes in your cabinet doors to avoid drilling new ones. This allows you to modernize a dated vanity just by changing the metal finish or the shape of the handles.
Adding a cohesive set of textiles finishes the space. Toss out the mismatched, frayed towels and replace them with a set that matches your 30% accent color. A fresh, high-pile bath mat can also soften the hard surfaces of the tile and floor, making the room feel more like a sanctuary.
Safety and Utility: Avoiding Common Design Pitfalls
Decorating decisions often fail when they prioritize appearance over safety and code compliance. The most common error is placing electrical decor or non-rated lighting too close to water sources. Always ensure any outlet used for lighting or fragrance diffusers has GFCI, or Ground Fault Circuit Interrupter, protection.
Another frequent oversight is the use of slippery floor treatments or rugs that lack a rubberized backing. A bathroom floor becomes a hazard the moment it gets wet. If you choose to add an area rug, verify that it is specifically designed for high-moisture environments and includes a high-traction bottom.
Finally, consider the long-term impact of your layout on airflow. Blocking the exhaust vent with tall shelves or heavy decorative items prevents proper moisture extraction. Per standards from the National Fire Protection Association, maintaining clear paths for ventilation and keeping electrical cords away from standing water are essential for safety.
- Keep electrical cords at least 3 feet away from any basin or shower.
- Ensure all rugs are machine washable to prevent mold buildup.
- Check that your exhaust fan vent is clear of any hanging decor.
Frequently Asked Questions
Can I use wallpaper in a bathroom?
You can use wallpaper if it is labeled as moisture-resistant or vinyl-coated. Traditional paper will bubble and peel as soon as the humidity rises. Always use a high-quality, mold-resistant adhesive to ensure the paper stays bonded to the wall surface over time.
How do I refresh a bathroom without permanent changes?
Focus on items that you can swap out without tools, such as towels, soap dispensers, and bath mats. Use command-style adhesive hooks for hanging decor instead of screws. These reversible changes allow you to update the style of your space without altering the underlying fixtures or walls.
How often should I clean bathroom decor?
Clean your bathroom decor at least once every two weeks to prevent mold and soap scum buildup. Wipe down metal fixtures and glass surfaces with a damp cloth to remove water spots. Weekly cleaning is necessary if your bathroom lacks a window or strong mechanical ventilation.
What plants thrive in a bathroom?
Tropical plants such as pothos, spider plants, and ferns love the humidity found in a bathroom. These plants actually benefit from the extra moisture generated by your shower. Ensure they still receive some natural or artificial light, as most bathrooms are darker than other rooms.
Why does my bathroom paint peel?
Peeling paint usually indicates high humidity levels or a failure to use a moisture-resistant finish. Use a semi-gloss or high-gloss paint formulated for bathrooms, as these contain additives to prevent mildew. Ensure you prime the walls properly before applying the final topcoat for the best adhesion.