How to Decorate Open Kitchen Shelves
Knowing how to decorate open kitchen shelves effectively turns a purely functional storage area into a curated display. Most kitchens struggle with the balance between usable space and visual aesthetic.
When planning your layout, standard kitchen shelving depth typically measures between 10 and 12 inches to accommodate dinnerware. As of 2026, many professional interior designers emphasize the importance of structural integrity, especially when loading heavy ceramic items onto wall-mounted supports.
Quick Answer
Open kitchen shelves require a mix of heights and textures. Place heavy, large items on the lowest shelves first. Leave intentional gaps of negative space between your items.
Group decorative objects in odd-numbered sets of three or five. Keep daily essentials within easy reach at eye level.
Why Visual Balance Makes or Breaks Open Shelving
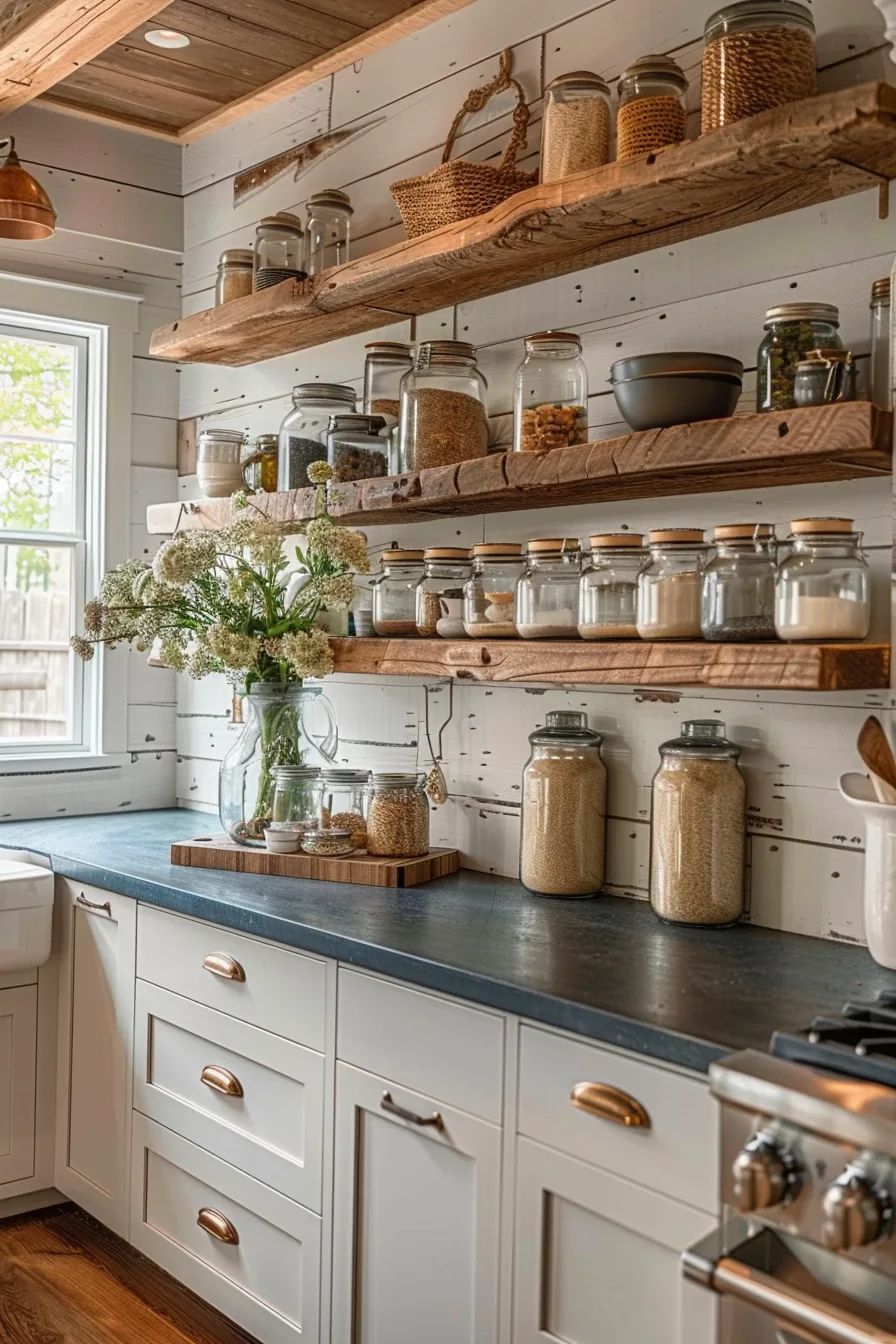
Visual balance is the primary factor that separates a cluttered shelf from a deliberate design choice. If you group all large items together, the display feels heavy on one side. Conversely, putting only small items on a shelf makes the space feel empty or unfinished.
Achieving balance requires you to treat your shelf as a single unit rather than a collection of random objects. You must distribute visual weight evenly across the entire surface. If your shelves feel lopsided, move a larger pitcher or stack of bowls to the opposite side.
You should also consider the weight of materials. Glass items, which are transparent, carry less visual weight than solid, opaque stoneware. You can mix these materials to ensure the display feels airy rather than dense.
Essential Components of a Curated Kitchen Display
A successful display relies on three core components: foundations, accents, and transitions. Your foundation consists of the larger, functional items you use daily. These serve as the anchors for your shelf layout.
Accents provide the personality of your kitchen. These might include a small piece of art, a wooden bowl, or a sculptural ceramic vase. You don't need many of these, as they are meant to catch the eye rather than store items.
Transitions are the smaller pieces that bridge the gap between foundations and accents. Small spice jars, bowls, or even a small plant can act as these connectors. Use the table below to determine which items belong on your display.
| Item Category | Function | Placement Strategy |
|---|---|---|
| Dinnerware | Foundation | Stack at eye level for access. |
| Pitchers/Vases | Anchor | Place on bottom or ends. |
| Decor/Plants | Personality | Use as focal points. |
| Small Bowls | Bridge | Tuck between larger stacks. |
The Step-by-Step Workflow for Styling Your Shelves
Start by clearing everything off your shelves. You cannot style effectively when looking at a cluttered space. Wipe down the surfaces to remove dust or grease before you begin.
Next, place your largest items first. These are your anchors. Position them at the bottom shelf or near the outer edges to create a stable base.
Once the anchors are set, layer in your everyday essentials. Stack plates or bowls in groups of three or four. If you stack them too high, they become difficult to remove and may become a safety risk.
Finally, fill the remaining gaps with your decorative accents. If a space feels too crowded, remove one item. The National Institute of Standards and Technology emphasizes the importance of following manufacturer weight guidelines, so ensure your brackets are securely anchored into studs before loading your heavier ceramic collections.
Strategic Placement: Working with Weight and Height
Height variation is the key to preventing a stagnant look. If every item on your shelf is the same height, the display will look like a generic store aisle. Pair a tall, slender vase with a short, wide stack of saucers to create a dynamic silhouette.
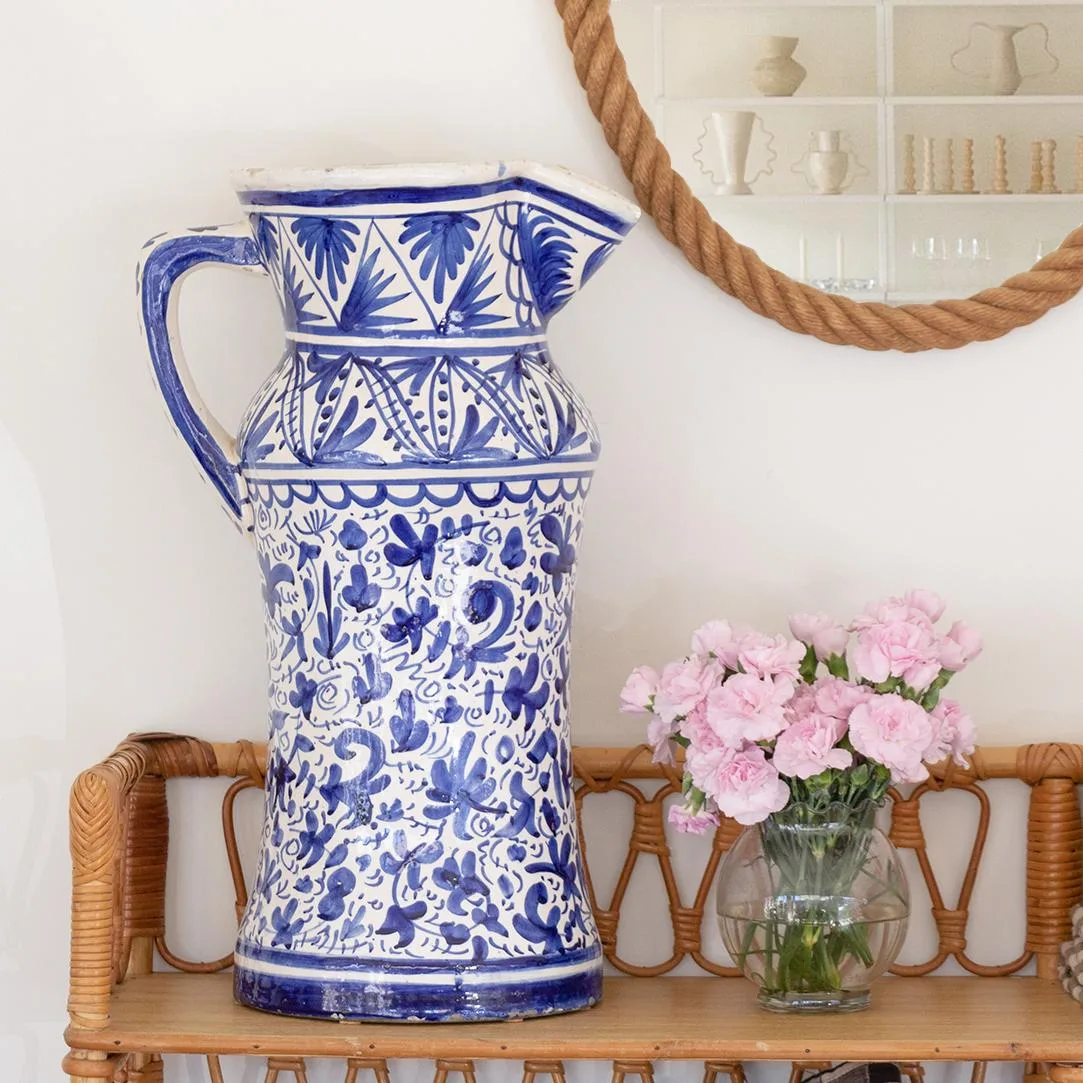
You should also be mindful of the line of sight. Items used daily should stay at your natural eye level. Items used less frequently, such as seasonal platters or oversized bowls, work best on higher or lower shelves.
This approach ensures that your most functional items don't disappear behind decorative pieces. Always place your heaviest items closest to the shelf brackets to maintain stability and comply with basic OSHA-aligned safety practices for wall-mounted storage units.
Common Design Mistakes That Cause Visual Clutter
The most common mistake is overfilling. When you try to store every single mug or bowl on an open shelf, you lose the ability to appreciate the design. Aim for at least 20 percent empty space on every shelf.
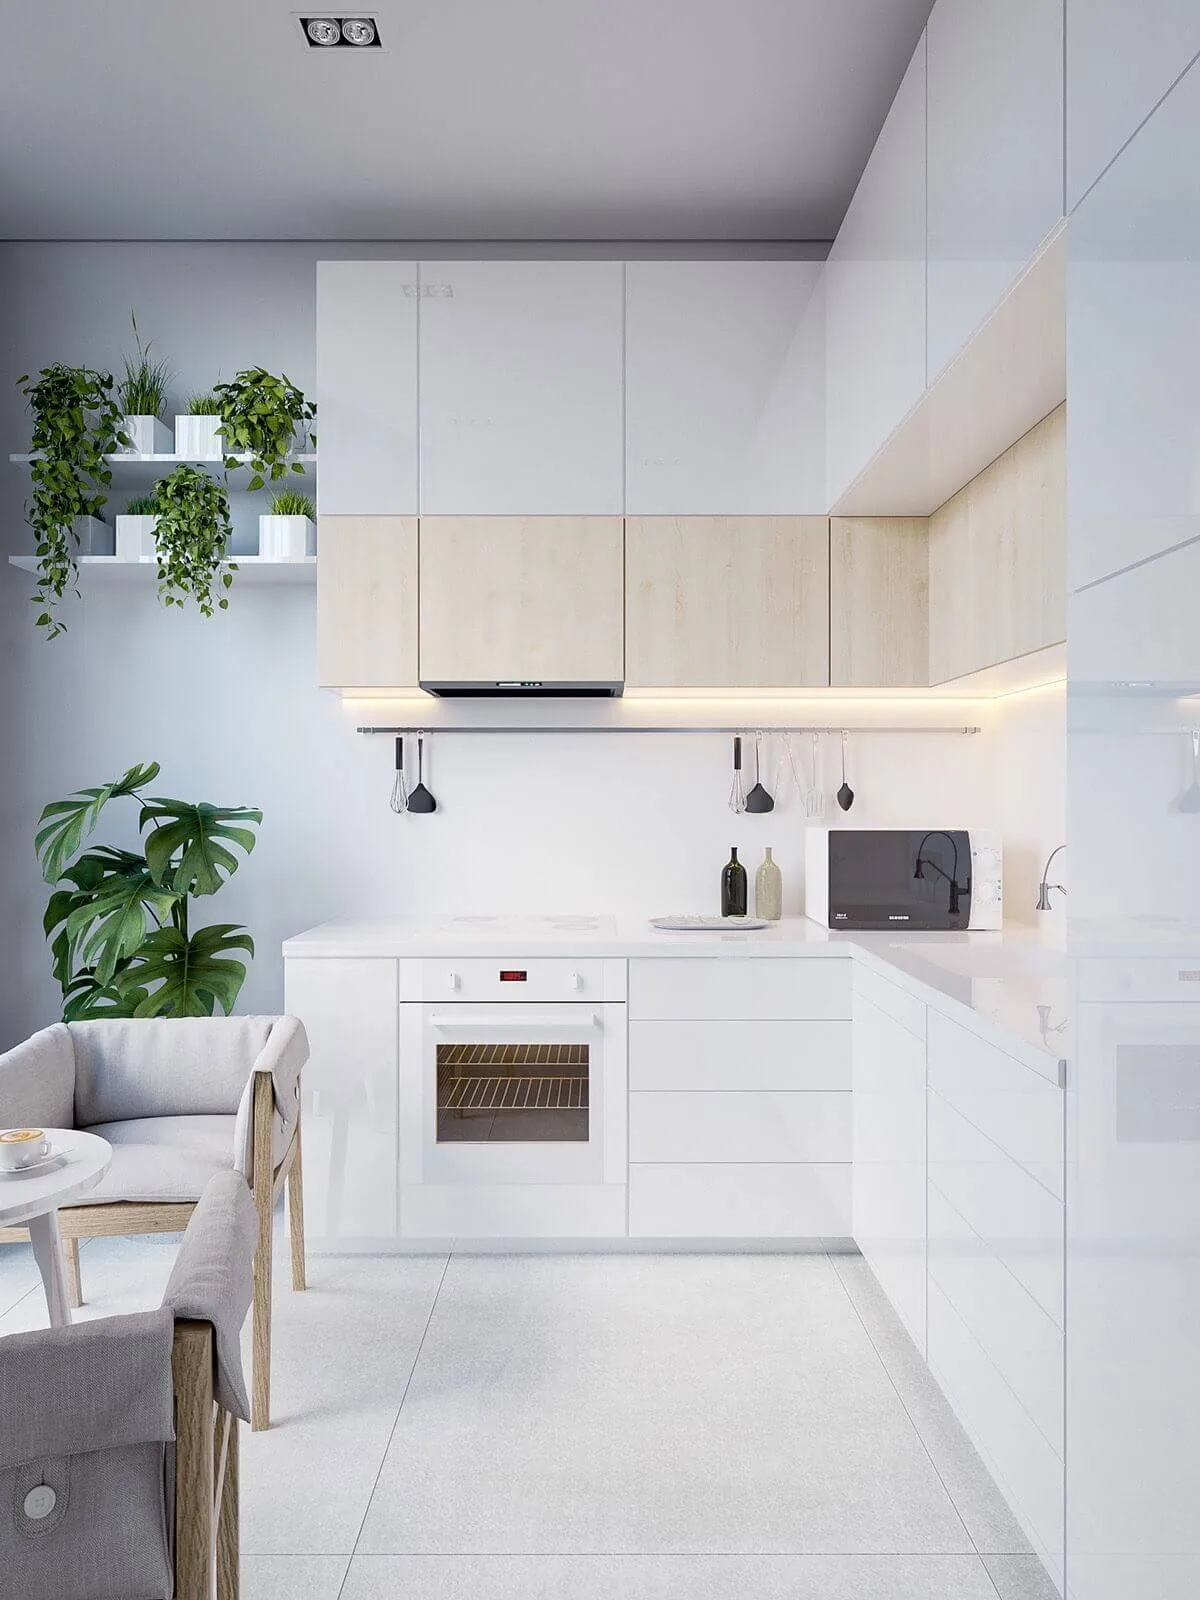
Another error is ignoring the color story. If your shelves hold a mix of neon plastics, mismatched logos, and dark heavy iron, the chaos will be overwhelming. Try to limit your palette to two or three coordinating colors.
You should also avoid placing items that are too small in large numbers. Twenty tiny jars look like clutter. A single, larger jar in that same space looks like a deliberate design choice.
Always prioritize fewer, higher-quality items over many small, distracting ones.
Long-Term Maintenance and Structural Considerations
Open shelves require a different maintenance routine than closed cabinetry because your items remain exposed to airborne grease and kitchen dust. You should aim to deep-clean your shelves and the items themselves once every two to three months. A simple microfiber cloth works best for wiping down wooden or metal surfaces without leaving lint behind.
Check your structural supports during every cleaning session. If you see signs of bowing, particularly in the middle of a shelf, you have likely exceeded the load capacity of the materials. You can easily calculate the safe load by checking the manufacturer hardware specifications for your brackets.
Don't ignore small cracks near the wall mounting points. If a shelf shifts, remove the heavy items immediately to prevent the unit from pulling away from the drywall or stud. Consistent monitoring prevents larger repairs later.
Frequently Asked Questions
How do I stop shelves from looking dusty?
Store items you use daily on your open shelves to keep them free of dust. Because you cycle through these pieces frequently, they don't have the time to accumulate debris. For decorative items that rarely move, a quick pass with a feather duster every week is enough to keep them pristine.
How much weight can my shelves hold?
The total weight capacity depends entirely on your bracket type and whether you have anchored the unit into wall studs. Floating shelf hardware often has a lower limit than heavy-duty iron brackets. Always verify the weight capacity provided by your hardware manufacturer before placing heavy stoneware or cast-iron pieces.
Can I mix open shelving with closed cabinets?
You can absolutely mix these styles to get the best of both worlds. Use closed cabinets for mismatched items or large appliances that lack aesthetic appeal. Reserve the open shelves for your favorite, coordinated sets that you want to showcase.
What if my kitchen walls are uneven?
Uneven walls make installing perfectly level shelves difficult, but you can fix this with shims during the mounting process. Check the shelf alignment with a spirit level from the start. If the wall has a significant curve, you might need to install a decorative back-plate to hide the gap behind the shelf.
Is open shelving safe for earthquake-prone areas?
Open shelving poses a risk in seismic zones unless you secure the items properly. Use museum putty to anchor ceramic items to the shelf surface. Alternatively, install a thin brass or wire rail along the front edge of the shelves to prevent sliding during minor tremors.
Final Verdict: Curating Your Personal Collection
Your shelves should reflect what you actually love and use rather than what you think they should hold. If you find yourself gravitating toward a specific color or material, lean into that to create a cohesive look. Success in this project isn't about perfectly imitating a catalog photo.
It’s about making your kitchen feel like a space that functions well and brings you joy. You'll know you’ve finished when the area feels intentional, balanced, and ready for daily use. Trust your instincts as you arrange your collection.
If it feels cluttered, take something away. If it feels boring, add a single piece with a contrasting texture. You now have the framework to build a display that works for your specific kitchen needs.