How to Arrange Pictures on a Wall
Knowing how to arrange pictures on a wall effectively transforms a bare space into a personalized gallery. Many homeowners struggle with layout, often leading to uneven spacing or mismatched visual weights that leave the wall feeling cluttered.
By following a few structural rules, you can achieve a professional look without needing expert experience. Our guide explains the standard measurements, as of 2026, to ensure your art hangs perfectly every single time.
Quick Answer
Arrange pictures on a wall using a consistent center-point height.
Aim for the center of your art at 57 inches high.
Keep a 2 to 3 inch gap between separate frames.
Plan your layout on the floor before you start drilling.
Use paper templates to test placements without marking your wall.
Why Your Walls Feel Off: The Art of Visual Balance
Most walls feel cluttered because of poor visual weight distribution. This occurs when you group items of vastly different sizes or frame thicknesses without considering their collective impact. Think of your wall as a balanced scale.
If you place one massive, dark frame on the left, the right side needs enough visual interest to prevent the entire wall from feeling lopsided.
Visual weight refers to how heavy a piece looks to the viewer. A dark, ornate frame feels heavier than a light, thin-rimmed one. You don't need to match every piece of art perfectly.
In fact, mixing frame styles often adds character to a room. The goal is to keep the eye moving across the display rather than getting stuck on one heavy corner.
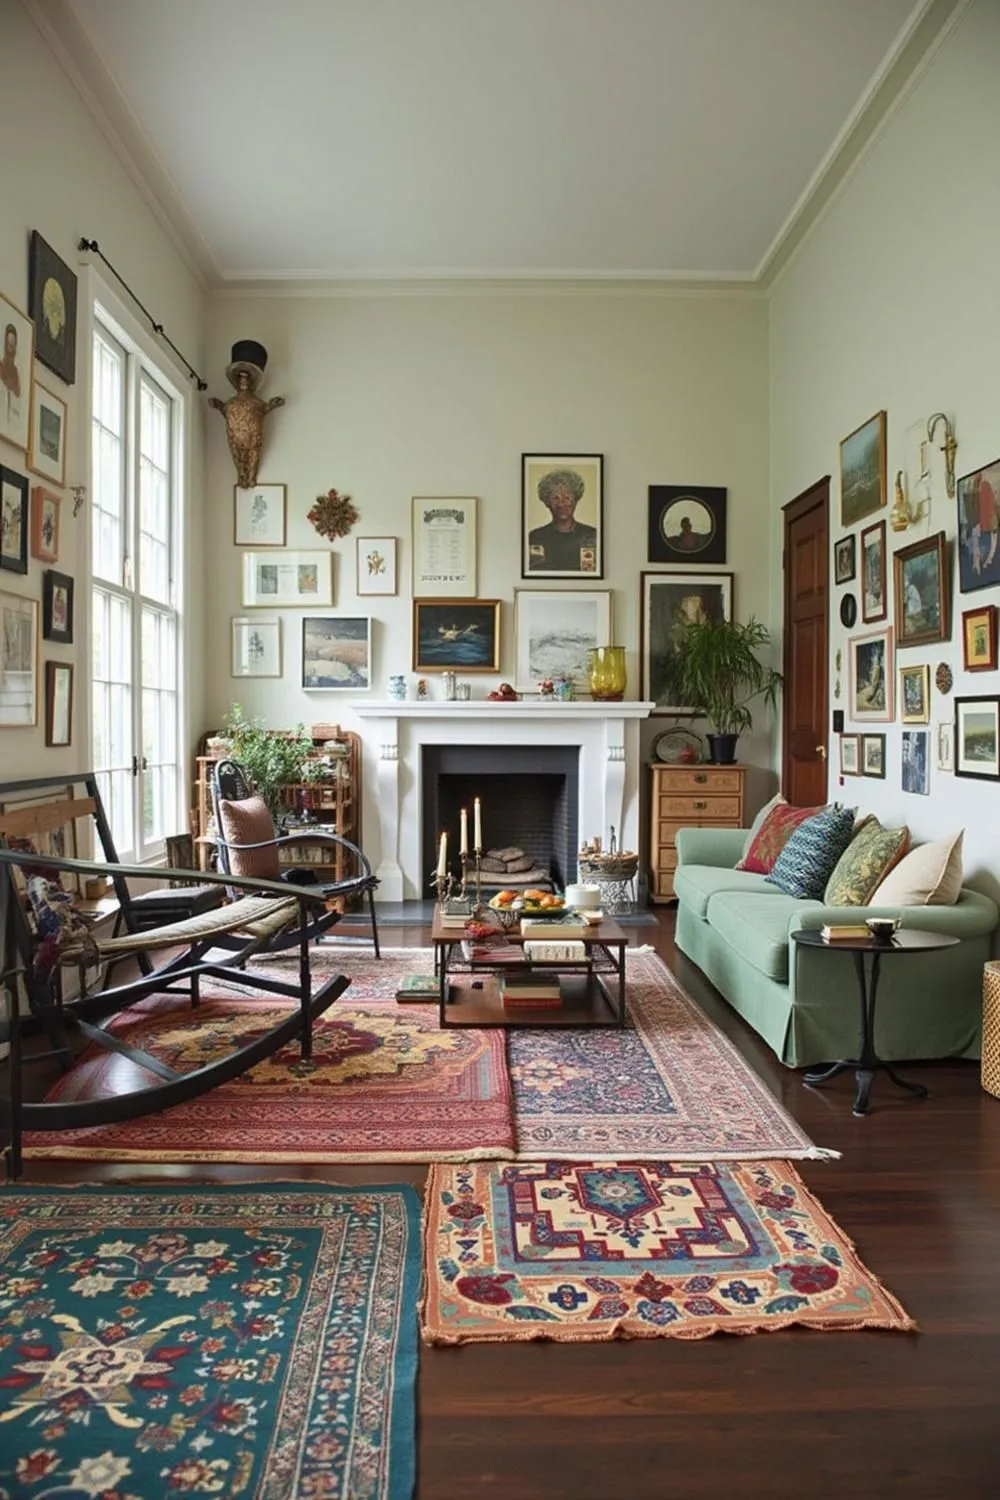
Image source: Web (Bing) / in.pinterest.com (Web image (fair-use with source credit))
Establishing Your Focal Point and Eye-Level Baseline
The biggest mistake is hanging art too high. Most people naturally hang pictures based on their own reach rather than the actual eye level of a person standing in the room. Professional gallery standards consistently suggest that the center of your art should fall between 57 and 60 inches from the floor.
This places the focal point right where it is most comfortable to view.
If you have a large, singular piece of art, center that specific item at the 57-inch mark. When working with a group, the center-point of the entire collection should land at that same height. If you are hanging art over furniture, like a sofa, ignore the floor-height rule for a moment.
Instead, focus on the relationship between the furniture and the art.
Ideally, the bottom of your frame or the bottom edge of a group of frames should sit about 6 to 8 inches above the top of the sofa. This connects the furniture to the wall art, making them feel like a unified design element. If the gap is too large, the art looks like it is floating in empty space.
The Floor Layout: Planning Before You Hammer
Never start by putting a nail in the wall. Instead, clear a space on your floor that matches the dimensions of your wall space. Lay out all your frames in the grouping you plan to use.
This gives you total freedom to swap pieces, change the spacing, and adjust the balance until you are happy with the result.
Standard spacing between frames is usually 2 to 3 inches. If you are creating a very tight, modern grid, you might bring that down to 1.5 inches. If your frames are scattered and organic, you can increase the distance.
Test how the colors and frame textures interact on the floor.
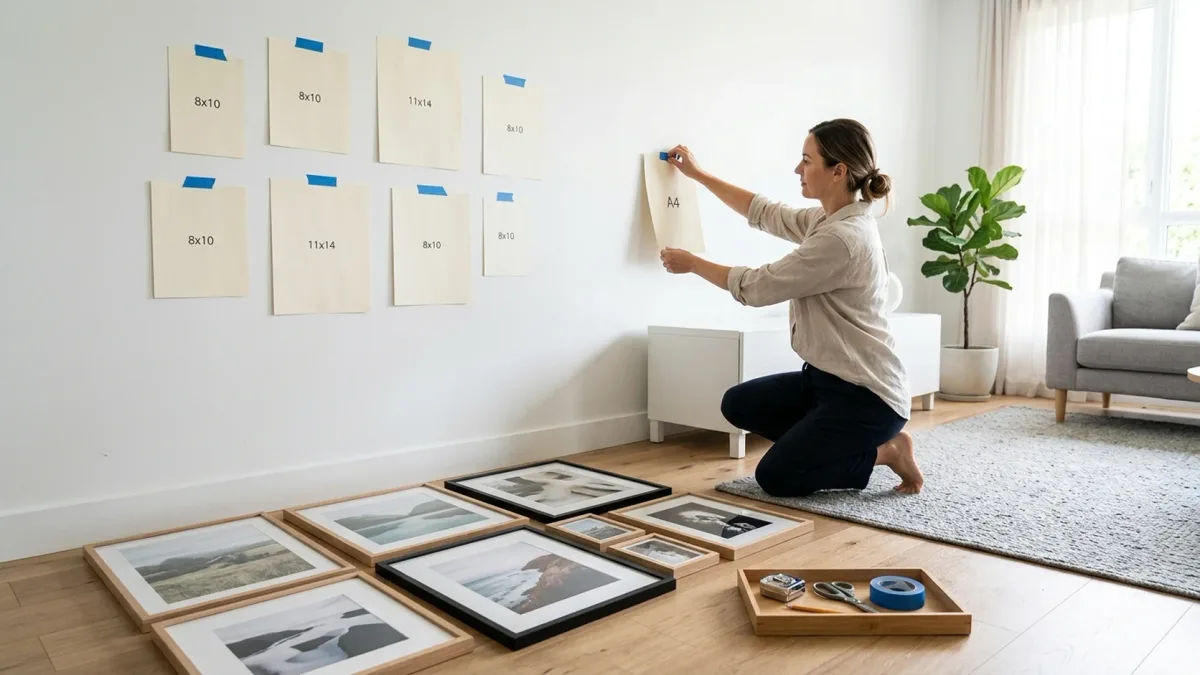
Image source: Web (Bing) / canvasdiscount.com (Web image (fair-use with source credit))
Once the arrangement looks good, take a photo with your phone. This serves as your blueprint when you move to the wall. You can reference this photo as you measure the distance between each hook.
It saves you from having to remember exactly where that small, awkward frame was supposed to go.
Choosing Your Mounting Method: Nails vs. Damage-Free Options
Your choice of hardware depends on the weight of the frames and the type of wall you have. For most drywall, a simple picture hook and nail combination is sufficient for standard frames. Always look for hardware that matches the size of your frame.
A small sawtooth hanger should not hold a massive, heavy wooden frame.
Adhesive strips are popular for rental homes or for people who hate patching holes. These are excellent for lightweight prints or small canvases. However, pay attention to the manufacturer's weight limit.
If you overload an adhesive strip, you risk the frame falling and causing damage to your floor or the frame itself.
| Mounting Type | Best For | Max Weight / Considerations |
|---|---|---|
| Nail & Hook | Standard frames | Check the weight rating on the package |
| Adhesive Strips | Rental units | Avoid on textured or wallpapered walls |
| French Cleat | Large, heavy mirrors/art | Requires precise leveling and drilling |
If you are dealing with plaster walls or brick, standard nails will not work. You will need specialized masonry anchors or picture-hanging hardware designed for hard surfaces. Consult local building codes or the National Institute of Standards and Technology guidelines if you are mounting extremely heavy decorative items that require permanent wall modifications.
Step-by-Step: From Paper Templates to Final Hang
The paper template method is the safest way to ensure your art is centered and level. First, trace the outline of each frame onto newspaper, wrapping paper, or kraft paper. Cut out these shapes and mark exactly where the hanging hardware is located on the back of each frame.
Tape these paper shapes to your wall using painter’s tape.
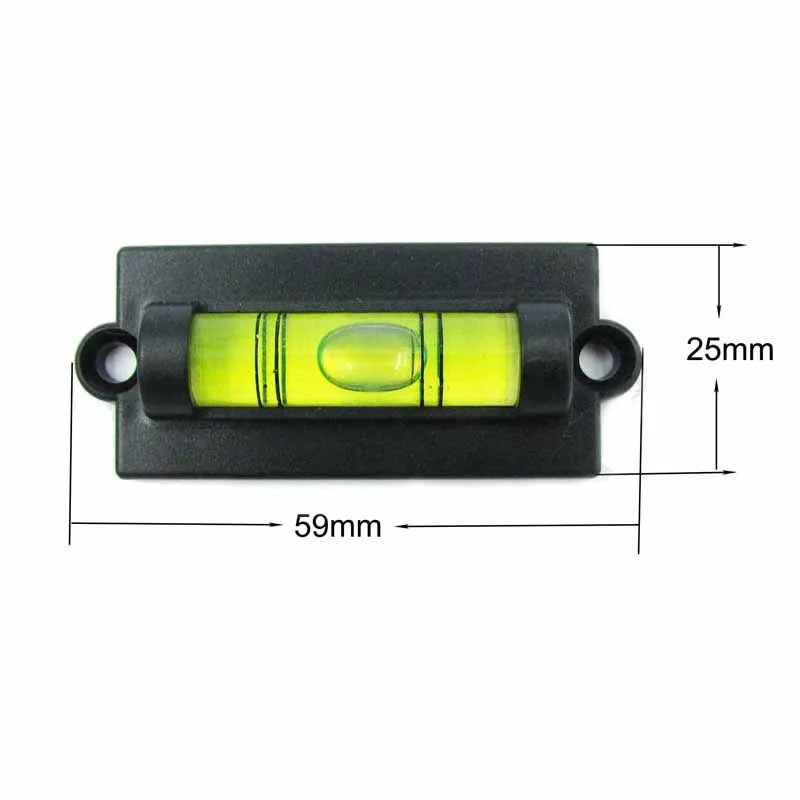
Image source: Bing (Web (fair-use with source credit))
Step back and look at your arrangement from across the room. Adjust the tape as needed until you are confident in the layout. Once you are satisfied, use a pencil to mark the exact spot where the nail should go through the template.
Hammer your nail through the mark, tear away the paper, and hang your frame.
Check the level of your frame once it is on the wall. A small spirit level is an essential tool here. Even if your measurements are perfect, a slightly tilted frame can throw off an entire gallery wall.
Adjust the frame until the bubble in the level is perfectly centered.
Avoiding Common Design Pitfalls: Scale, Drift, and Height
The most frequent error is neglecting scale. A small print on a vast, empty wall will look like an afterthought. If you have a large wall, gather smaller pieces into a tighter cluster to occupy more visual space.
Conversely, avoid placing a massive canvas on a narrow wall segment.
Another frustration is art drift. This happens when frames shift position over time due to vibrations from doors closing or temperature changes. Use small squares of museum wax or double-sided adhesive tape on the bottom corners of your frames to keep them locked in place.
This simple trick prevents frames from crookedly tilting after you have perfected the level.
Finally, reconsider the height if you are working in a hallway. While the 57-inch rule is standard for living spaces, hallways often benefit from slightly lower placement. Because people walk through hallways, lower art feels more inviting and less imposing.
Just ensure you are not placing fragile glass frames where people might accidentally brush against them.
Frequently Asked Questions
Can I mix different frame colors in one arrangement?
Yes, mixing frame colors and textures adds depth and personality to your wall. The key is to distribute the colors evenly across the arrangement to maintain balance. If you have a black frame on the far left, try to incorporate a dark element on the far right to anchor the composition.
How do I hang pictures on brick or concrete?
Use specialized masonry anchors or steel hardened nails for hard surfaces. Standard finish nails will likely bend or fail to penetrate the surface. Some people prefer using heavy-duty adhesive hooks designed for stone, but always confirm the weight capacity matches your specific frame.
What if my wall has a texture, like plaster or knockdown?
Adhesive strips often struggle to bond with textured surfaces because the contact area is minimal. Nails or screws are much more reliable for these walls. If you must use adhesives, try applying them to a smooth, flat portion of the wall texture if possible, or use a small amount of liquid adhesive backing.
Is there a limit to how many pictures I can group?
There is no hard limit, provided you maintain consistent spacing and a cohesive theme. A large, sprawling gallery wall can look intentional if the frames share a color palette or common matting style. If the pieces feel too busy, try limiting the number of frames to three or five to keep the focus clear.
How do I fix a hole in the wall after moving a frame?
Fill the hole with a small amount of spackle and a putty knife. Once dry, sand the spot lightly with fine-grit sandpaper until it sits flush with the wall. A quick dab of touch-up paint usually makes the repair invisible, especially on matte finishes.