How to Create a Gallery Wall
Learning how to create a gallery wall is the best way to turn empty space into a curated display of your favorite art. A well-planned arrangement brings personality to any room while keeping the design feeling intentional rather than cluttered.
You should aim for the center of your display to sit at eye level, which is standardly 57 to 60 inches from the floor, per guidance from the National Institute of Standards and Technology. This height provides the most natural viewing experience for the average adult.
Quick Answer
To create a gallery wall, first lay your items on the floor. Arrange them until you achieve a balanced, comfortable look. Trace your frames onto paper to create physical wall templates.
Tape these templates up to visualize the final display. Secure your hardware once the layout feels right. Remove the paper and hang your pieces.
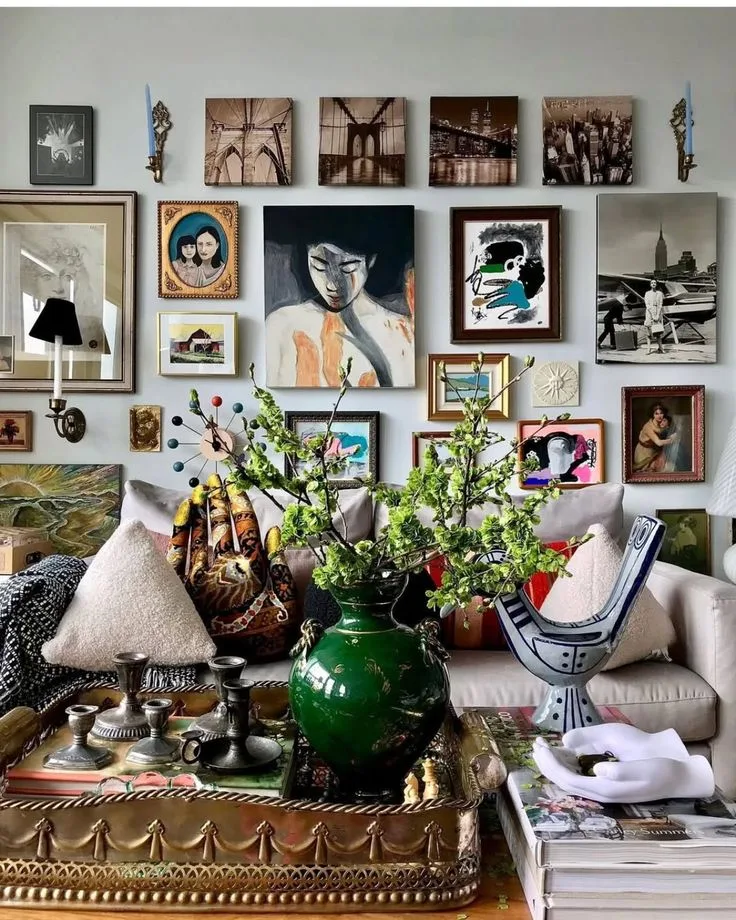
Image source: Web (Bing) / ar.pinterest.com (Web image (fair-use with source credit))
Why Your Gallery Wall Needs a Vision Before You Start
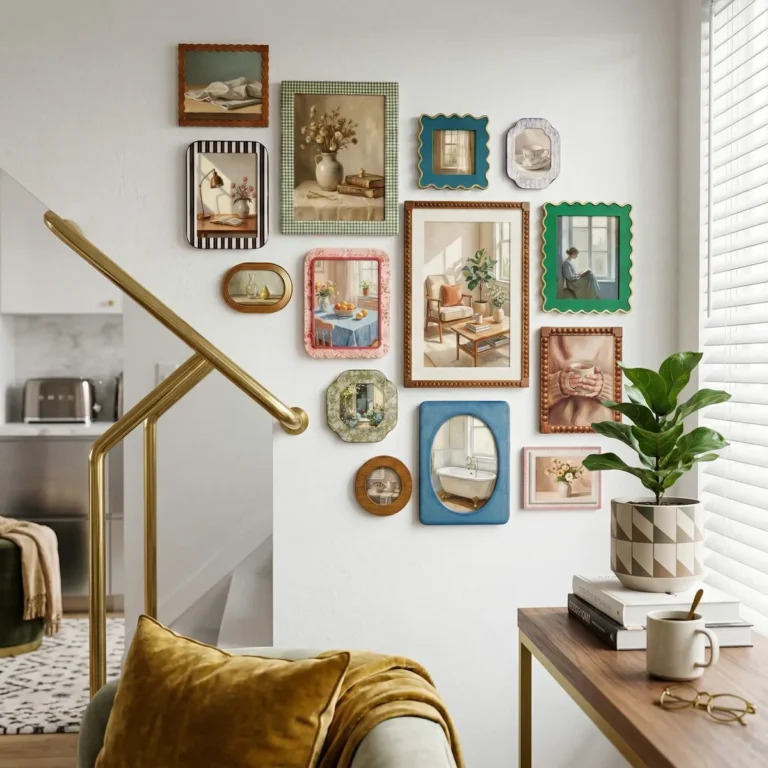
Designing a gallery wall starts with gathering pieces that share a common thread. You don't need identical frames to make a space look cohesive. Instead, look for a shared color palette, theme, or frame material that ties the collection together.
When you mix sizes and styles, the wall gains character. Start by identifying one anchor piece, such as a large painting or a bold photograph. This item serves as your focal point and helps ground the rest of the arrangement.
Consider the room's function when choosing your art. A bedroom might benefit from soft, calming photography, while a hallway is a perfect place for bold, graphic prints. Keep your vision focused on how the wall interacts with existing furniture.
Essential Tools for a Professional Finish
You do not need an expensive toolkit to get professional results. A few reliable items will ensure your frames stay level and your walls remain intact. Prioritize quality materials to avoid unnecessary repairs later.
- Measuring tape: Essential for checking spacing and centering.
- Painter's tape: Use this for mock-ups because it doesn't damage paint.
- Bubble level: This is non-negotiable for ensuring frames don't sit crooked.
- Kraft paper: Ideal for creating templates of your frames.
- Pencils: Essential for marking light, erasable guides on the wall.
- Wall anchors: Use these if you are hanging heavy frames into drywall.
Always check the weight rating of your hooks against the weight of your frames. Most hardware stores provide specific ratings for these items. Using the correct anchor prevents your frames from falling or causing wall damage over time.
Master the Layout: From Floor Mock-ups to Wall Templates
The most effective way to design your layout is to move everything onto the floor. Arrange your frames on a flat surface to test different combinations before committing to the wall. This lets you experiment with spacing and visual flow without any permanent marks.
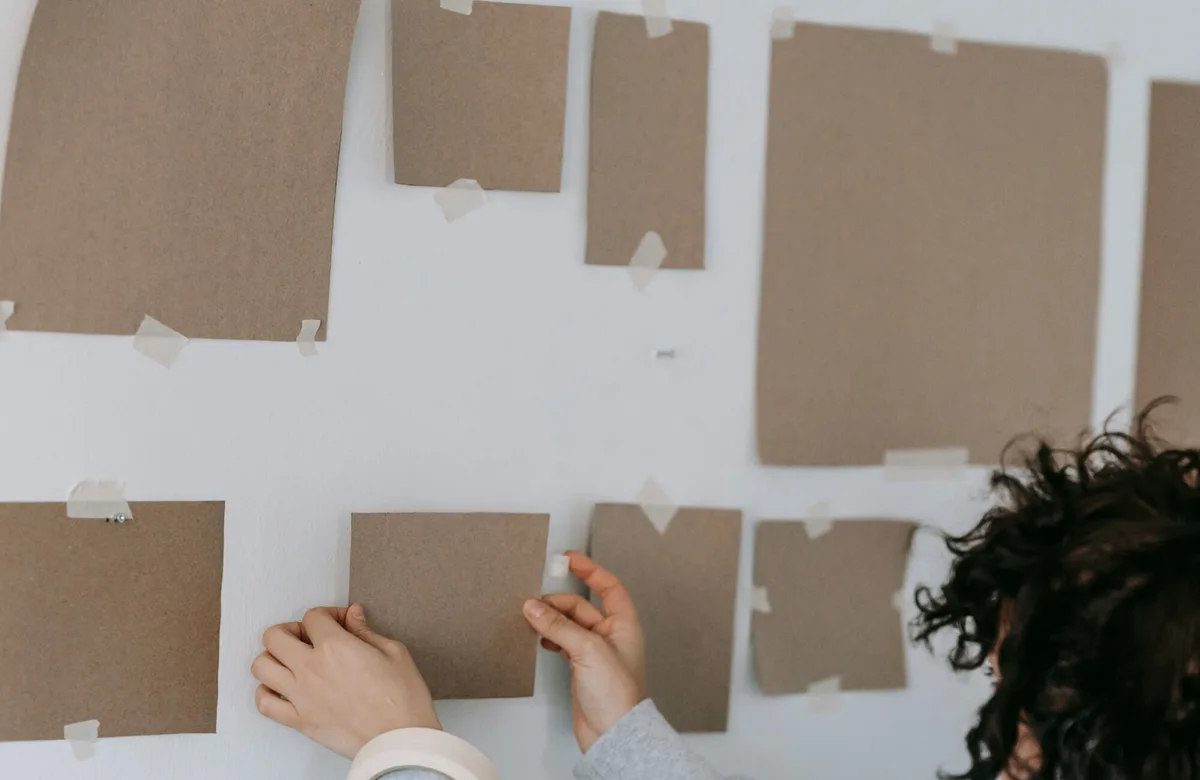
Image source: Web (Bing) / edwardmartin.com (Web image (fair-use with source credit))
Once you find an arrangement you love, trace the outline of every frame onto sheets of craft paper. Mark the exact spot where the hanging hardware sits on the back of each frame. Cut out these shapes, and you have a perfect paper map.
Tape these paper cutouts to your wall using small pieces of painter's tape. Step back to see how the shapes interact with your furniture or windows. You can easily shift the papers around until the balance feels correct.
Selecting Frames, Art, and Balancing Visual Weight
Visual weight refers to how much attention an object demands based on its size, color, and complexity. A large, dark frame draws the eye more than a small, light-colored one. Distribute these heavy pieces evenly across the wall to avoid a lopsided display.
Consider the matting as part of the visual design. White mats provide breathing room for busy prints and help unify mismatched frames. If you choose wood frames, try to mix the wood tones throughout the arrangement rather than clustering one style in a single corner.
| Layout Style | Best For | Visual Impact |
|---|---|---|
| Grid | Matching frames | Clean, orderly, modern |
| Salon | Mismatched art | Cozy, eclectic, energetic |
| Linear | Narrow walls | Intentional, minimalist |
The spacing between frames remains the most critical factor for a polished look. Standard practice suggests keeping a consistent gap of 2 to 3 inches between all edges. This consistent spacing turns individual pieces into a single, unified unit.
A Step-by-Step Guide to Perfect Installation
Start with your most central, or anchor, piece first. Once that frame is hung, use it as a reference point for everything else. Keep your bubble level handy at all times to verify your work as you go.
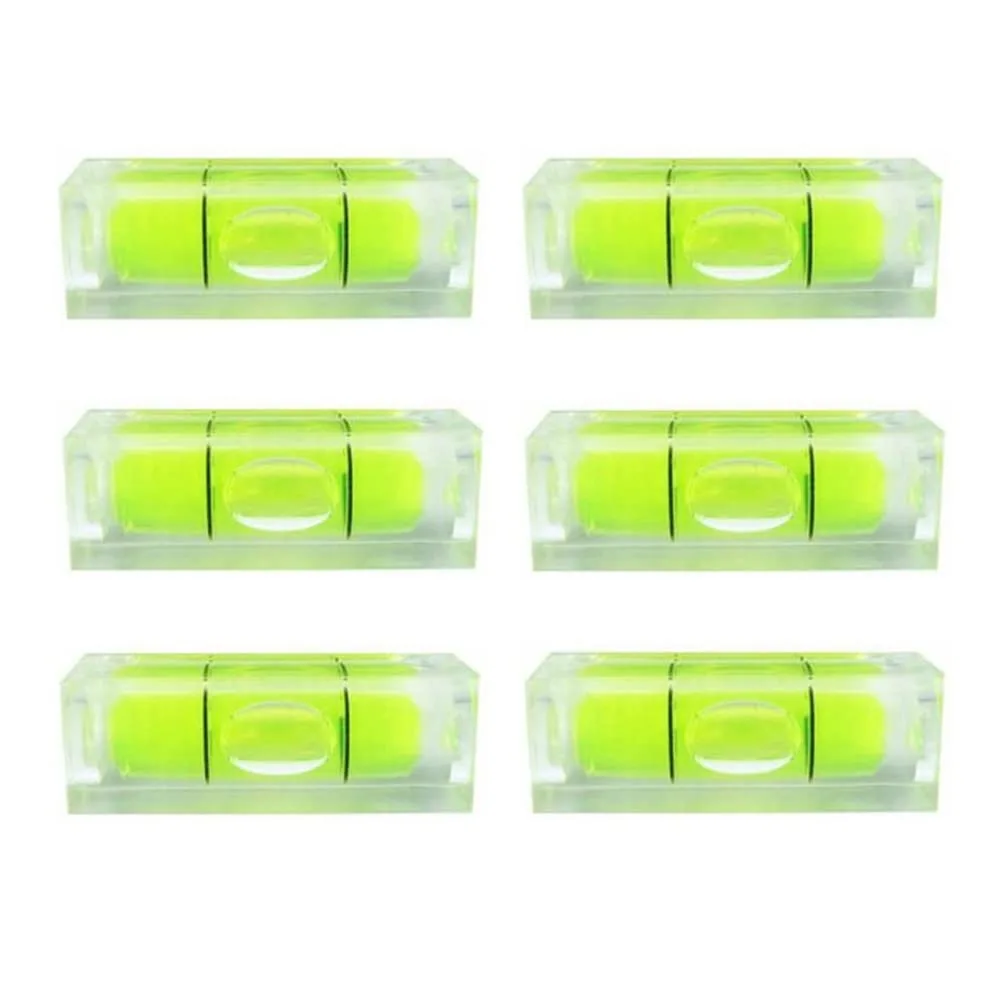
Image source: Bing (Web (fair-use with source credit))
- Find the exact center point on your paper template where the hook should go.
- Hammer your nail or install your anchor directly through the paper at that mark.
- Rip away the paper template carefully to reveal your hardware.
- Place your frame onto the hook and use a level to check for alignment.
- Repeat this process for the pieces surrounding your anchor.
Work from the center outward to ensure the entire gallery wall grows evenly. If you hit a stud, you won't need an anchor, but you might need to adjust your nail placement slightly. Always verify the piece is level after every single adjustment.
Crucial Pitfalls and How to Fix Them
The most common mistake people make is hanging their collection too high on the wall. If the center point sits above eye level, the gallery looks disconnected from the room. Always measure and mark your center point before you start hammering any nails.
Another frequent error involves ignoring hardware variations. Not every frame uses the same hanging mechanism, which can cause pieces to sit at different depths or angles. Check whether your frames require a wire, a sawtooth hanger, or a D-ring.
- Mixed Hardware: If you have varied hangers, ensure you have the correct screws or nails for each type.
- Crooked Leveling: Even a slightly tilted frame ruins the effect of a large gallery. Use a small level to double-check the top edge of each frame.
- Floating Frames: Ensure your frames are flush against the wall. If a frame has a wire, pull the wire tight toward the top of the frame before hanging it.
If you find a frame hanging too low, don't worry about patching the wall immediately. A small amount of spackle hides tiny nail holes perfectly. Once it dries, a quick dab of matching paint makes the repair invisible.
Frequently Asked Questions About Gallery Walls
How do I hang frames without damaging my walls?
Use adhesive mounting strips designed for picture frames to avoid holes. These strips work best on smooth, painted surfaces and come in various weight capacities. Read the package instructions carefully to ensure you stay within the weight limits for your specific frames.
Should I frame everything in the same color?
You don't need identical frames for a cohesive look. Mixing frame colors or materials adds depth and personality to your display. Use a common element, like similar matting colors or frame profiles, to bridge the gap between different styles.
What if I want to add new pieces later?
Build your gallery wall with an organic shape that allows for growth. By leaving a little extra space around your initial layout, you leave room to add new frames later. Simply treat your future additions as new anchor pieces to maintain balance as the collection expands.
How do I prevent frames from shifting over time?
Add small adhesive felt pads to the bottom corners of each frame. These pads grip the wall surface and prevent the frames from sliding or rotating when you walk past. This simple trick keeps your display looking crisp and perfectly aligned for years.