How High Should Wall Art Be Hung
When you are deciding how high should wall art be hung, the process often feels like a guessing game. Most people end up with holes in the wrong places because they eyeball the height based on instinct alone.
Designers rely on specific standards to ensure art looks intentional rather than accidental. As of 2026, these guidelines remain the most reliable way to create a polished, balanced look in your home.
Quick Answer
The ideal height for wall art is 57 inches on center. This measurement represents average human eye level. You should measure from the floor to the middle of the artwork.
Adjust this height if furniture sits below the art. Avoid hanging pieces too high on the wall.
The Off Feeling: Why Art Height Changes Everything
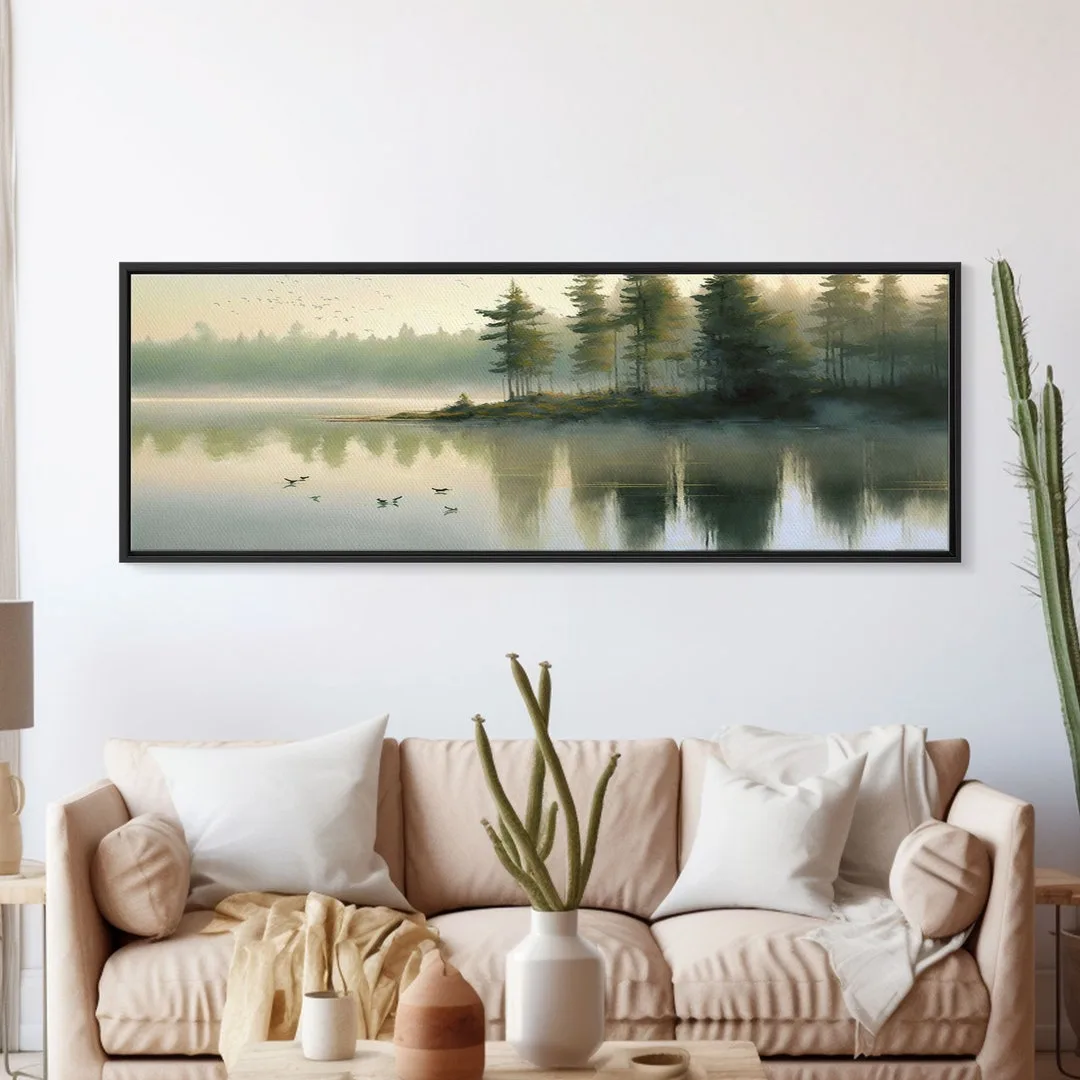
You have likely walked into a room where the art felt like it was floating too high or dragging on the floor. This disconnected feeling usually happens when the art lacks a relationship to the rest of the room. When art hangs too high, it detaches from the furniture below it and leaves a jarring gap.
Conversely, hanging art too low makes the room feel crowded and claustrophobic. The goal is to establish a visual anchor that makes the room feel cohesive. Professional designers use consistent heights to maintain a steady line of sight.
This prevents the eye from jumping around the room in a distracting way.
Maintaining a consistent level across your home helps define your space. It transforms individual decor choices into a curated experience. If you find your current art setup feels cluttered, the vertical positioning is often the primary culprit.
The 57-Inch Standard: Decoding Eye-Level Placement
The 57-inch rule is the industry gold standard for displaying individual pieces. You find this by measuring exactly 57 inches from the floor to the center point of the artwork. This height aligns perfectly with the eye level of an average adult.
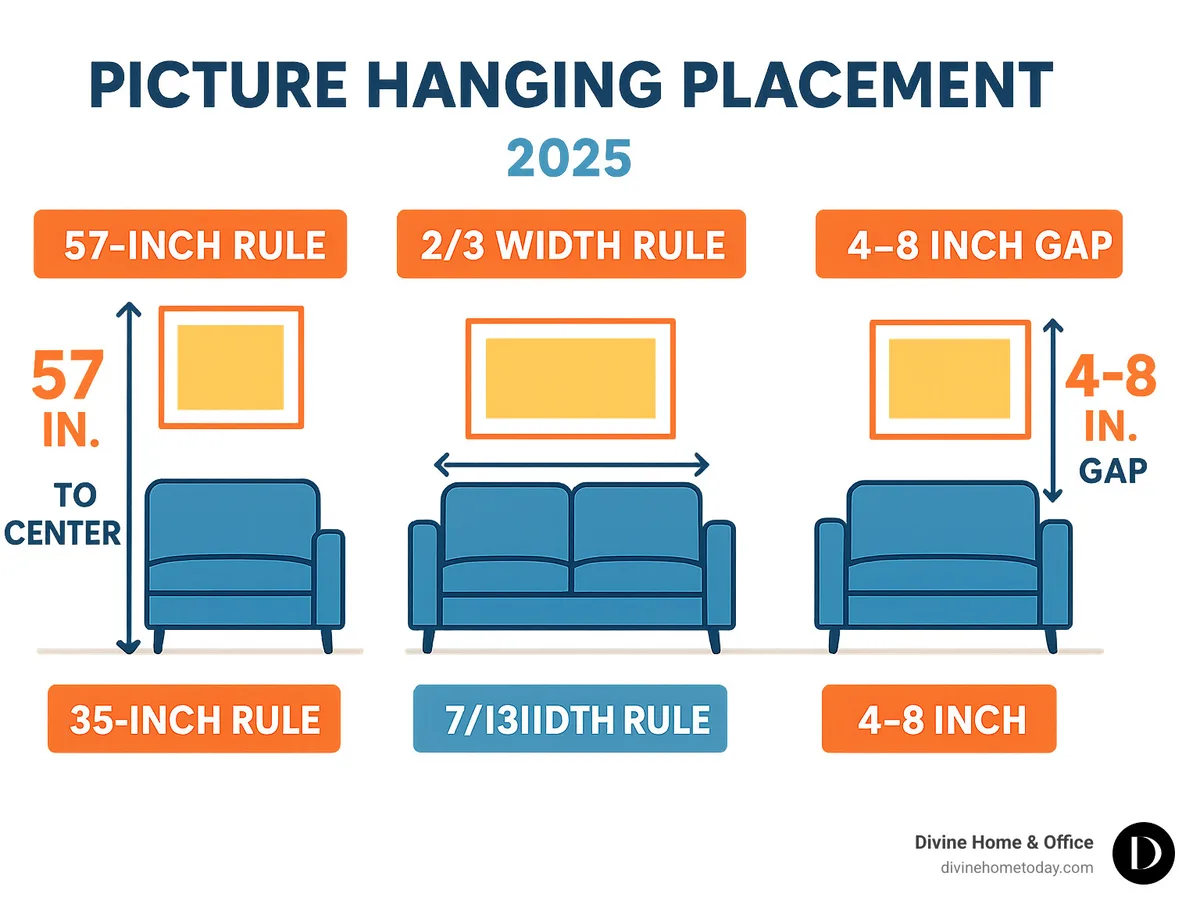
When you look at your art, you want it to feel comfortable and accessible. The 57-inch measurement ensures your gaze lands naturally on the image. Museums and professional galleries utilize this specific height to create a uniform flow.
You can bring this exact logic into your own living area for immediate results.
If you are dealing with a tall gallery wall, you should still treat the center of the entire collection as your focal point. Find the geometric center of your grouped arrangement. Ensure that this specific point hits the 57-inch mark on your wall.
Visual Anchoring: How to Relate Art to Furniture
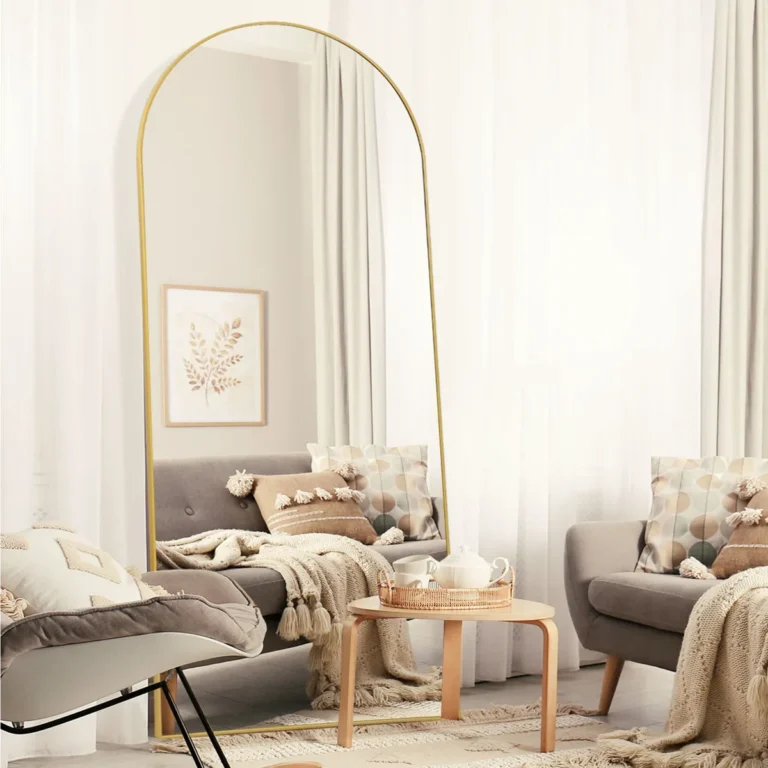
Art should never look like it is fighting your furniture for attention. If you are hanging a piece above a sofa, console table, or buffet, you must anchor it to that object. The art should feel like a natural extension of the furniture rather than a separate floating element.
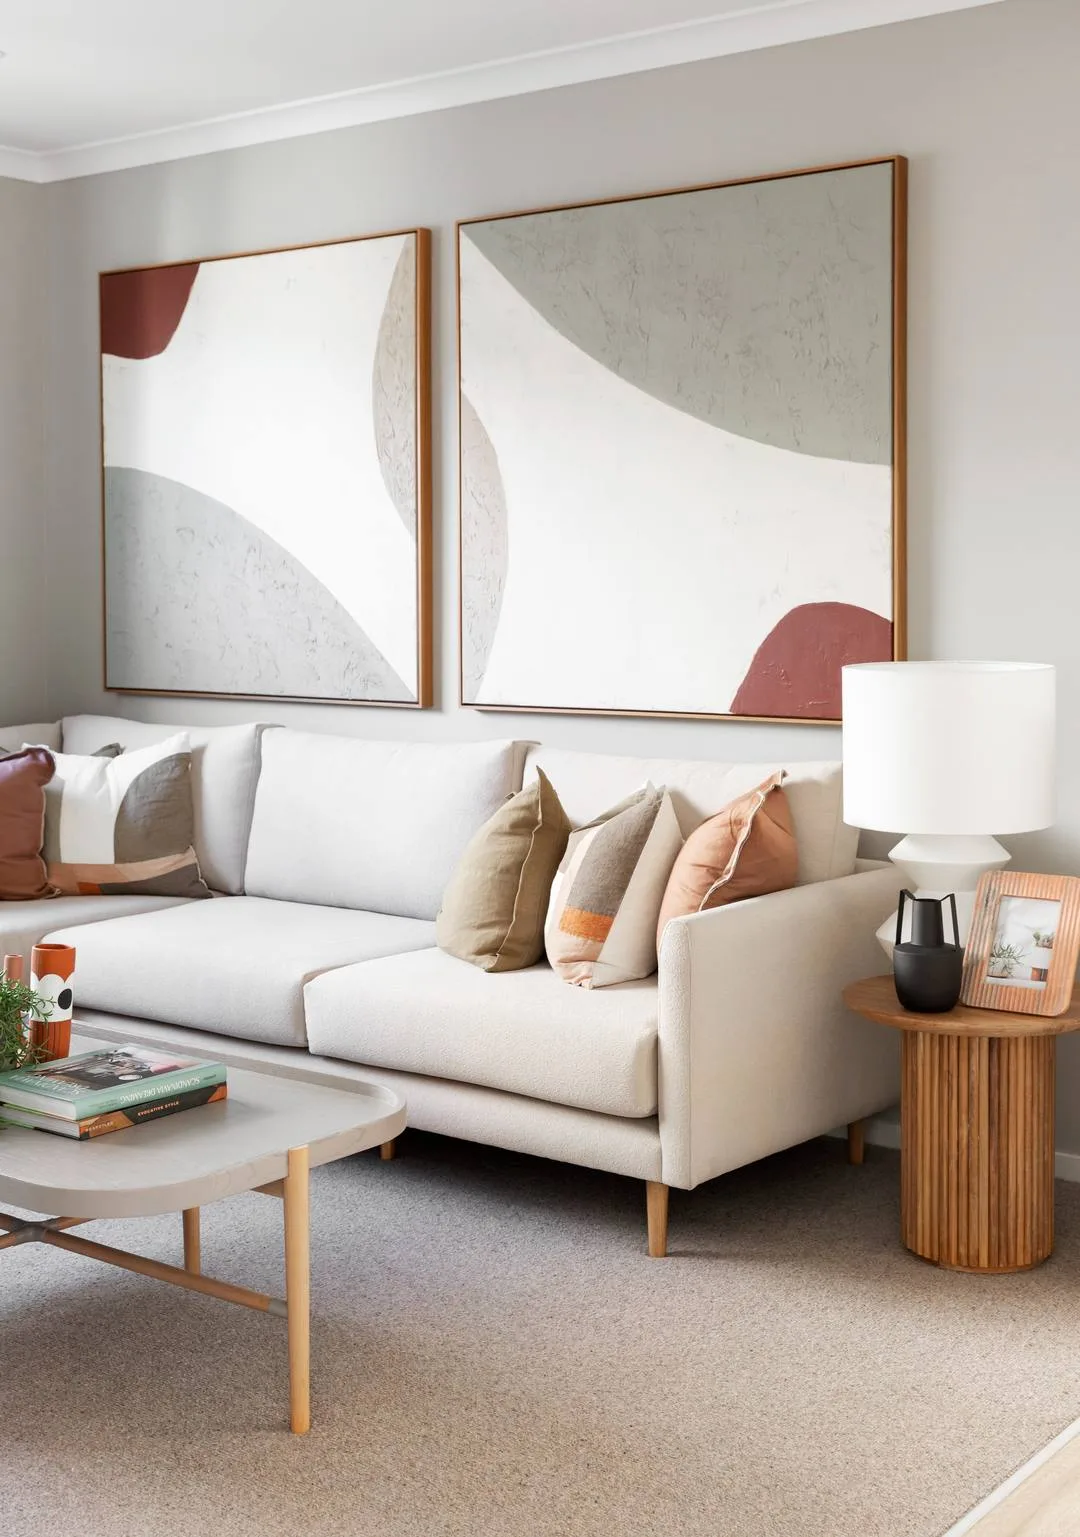
Aim for a gap of 6 to 10 inches between the top of your furniture and the bottom of your frame. This distance allows for the piece to feel connected without being squeezed. If the gap is wider, the art will appear to hover on the wall in isolation.
The Anchor Test
- Stand back from the furniture and the art together.
- Do they look like a single unit or two separate pieces?
- If the art looks like it is drifting toward the ceiling, bring it down.
- The relationship between the bottom edge of the frame and the top edge of the table is vital.
Step-by-Step Execution: From Paper Templates to Finished Walls
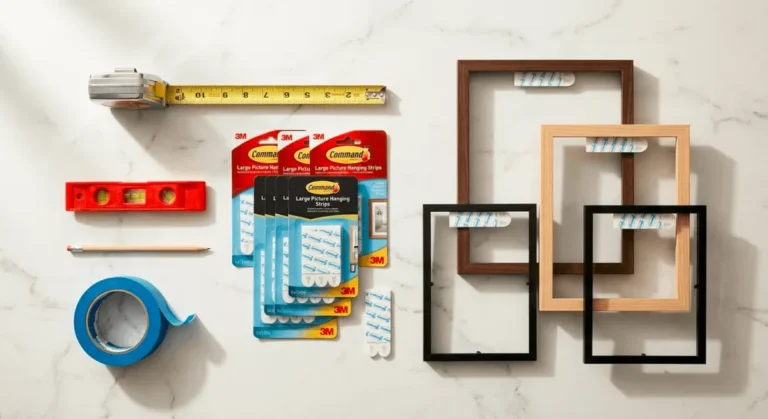
Before you reach for your hammer, use a simple paper template system to prevent mistakes. This method takes the guesswork out of drilling holes. It also saves your drywall from unnecessary repairs.
- Measure your artwork to get the total height and width.
- Cut kraft paper or newspaper to the exact dimensions of the frame.
- Use painter’s tape to stick these templates to the wall at your target height.
- Step back and evaluate the placement from across the room.
- Mark your hardware location through the paper before taking it down.
Always measure from the hanging hardware on the back of your frame to the top edge. Many people measure from the top of the frame, but the wire or D-ring is usually lower. If you don't account for this distance, your art will hang lower than you intended.
Per the National Institute of Standards and Technology, using accurate measurement tools ensures consistency across multiple walls.
| Step | Tool Needed | Purpose |
|---|---|---|
| Measure | Tape Measure | Find the exact center |
| Prototype | Kraft Paper | Visualize scale and spacing |
| Align | Level | Ensure a straight horizontal line |
| Install | Hammer/Drill | Secure the mounting hardware |
Common Placement Mistakes and How to Fix Them
The most frequent mistake is hanging art based on where the hardware happens to be. Many frames come with wires that sag, which changes the mounting height. Always pull the wire taut toward the top of the frame before taking your final measurement.
Another common error is ignoring the scale of the wall. A small piece of art centered on a massive, empty wall often looks lonely. If you have a large blank space, group multiple pieces together.
A collection of smaller items can function as one large piece of art.
Avoid these common pitfalls:
- High-hanging pieces that force guests to look up at an angle.
- Hanging art too far apart, which breaks the visual flow of a room.
- Using hardware that isn't rated for the weight of your frame.
- Forgetting to account for ceiling height when placing art in rooms with vaulted ceilings.
Adapting to Architecture: Hallways, Vaulted Ceilings, and Sightlines
You should adjust your placement based on the unique geometry of your room. While the 57-inch rule provides a strong baseline, architectural features like vaulted ceilings or long hallways require small modifications. In a narrow hallway, you want art at eye level because people view these pieces from a close distance.
Vaulted ceilings can make a standard 57-inch placement look like it is dragging too low. If your walls soar, you might nudge the center point up to 60 inches to keep the art proportional to the height. Always check the sightlines from the main entry points of the room.
If a piece feels lost on a tall wall, consider adding a secondary row of smaller art below it to bridge the gap.
Adjustment Tips for Unique Spaces
- Long Hallways: Stick to the 57-inch rule to ensure art feels consistent as you move through the space.
- Vaulted Ceilings: Raise your center point by 2 to 3 inches if the scale of the wall makes the art feel small.
- Dining Rooms: Place art slightly lower, around 50 to 52 inches, since guests view the walls while seated.
- Staircases: Follow the angle of the stairs rather than the floor. Maintain a constant distance between the bottom of the frames and the stair treads.
Frequently Asked Questions
Can I hang art higher if I have tall furniture?
You should maintain the 6 to 10 inch gap between the furniture and the art regardless of how tall the piece is. The goal is to keep the art as an extension of the furniture group. If the art sits too high above a tall cabinet, it will look like it is floating in empty space.
How do I hang heavy art safely?
Use hardware rated for the specific weight of your frame to ensure the piece stays secure. Always locate a wall stud for heavy mirrors or large, framed canvases. If you cannot align with a stud, use high-quality toggle bolts or drywall anchors rated for the weight of your item.
Does the size of the art change the 57-inch rule?
The 57-inch rule always refers to the center point, no matter the frame size. A very large piece will extend both higher and lower than a small piece, but the middle will always sit at that 57-inch mark. This consistency keeps your walls looking intentional even when you mix large and small frames.
What is the best way to level a piece of art?
Place a bubble level on the top edge of the frame to check for horizontal alignment. If you are using two separate hooks, measure the distance between them carefully to avoid a crooked result. Always double-check your level after you hang the item, as the frame weight can sometimes shift the mounting wire.
How do I fix a hole if I get the height wrong?
Fill the hole with a small amount of spackle and sand it smooth once it is fully dry. A light touch of matching wall paint will make the repair invisible. Don't worry about making mistakes, as even professional installers occasionally need to adjust a hook to get the alignment perfect.